What Is Restorative Justice in Schools A Guide to Safer Classrooms
When you hear the term “school discipline,” what comes to mind? For many of us, it’s things like detention, suspension, or a trip to the principal’s office. This traditional approach focuses on rules and consequences. But what if we shifted the conversation from punishment to healing?
That’s the core idea behind restorative justice. Instead of asking, “What rule was broken and what’s the punishment?” it asks a fundamentally different set of questions: “Who was harmed? What do they need? And whose job is it to make things right?”
It’s a powerful shift that moves the goal from simply punishing misbehavior to actually repairing harm and rebuilding the relationships at the heart of a school community.
A New Way of Thinking About School Discipline
Think of traditional discipline as a one-way street. A student breaks a rule, a consequence is handed down, and that’s often the end of it. The problem is, this process rarely gets to the root cause of the behavior, and it does little to mend the broken trust between students or between students and staff.
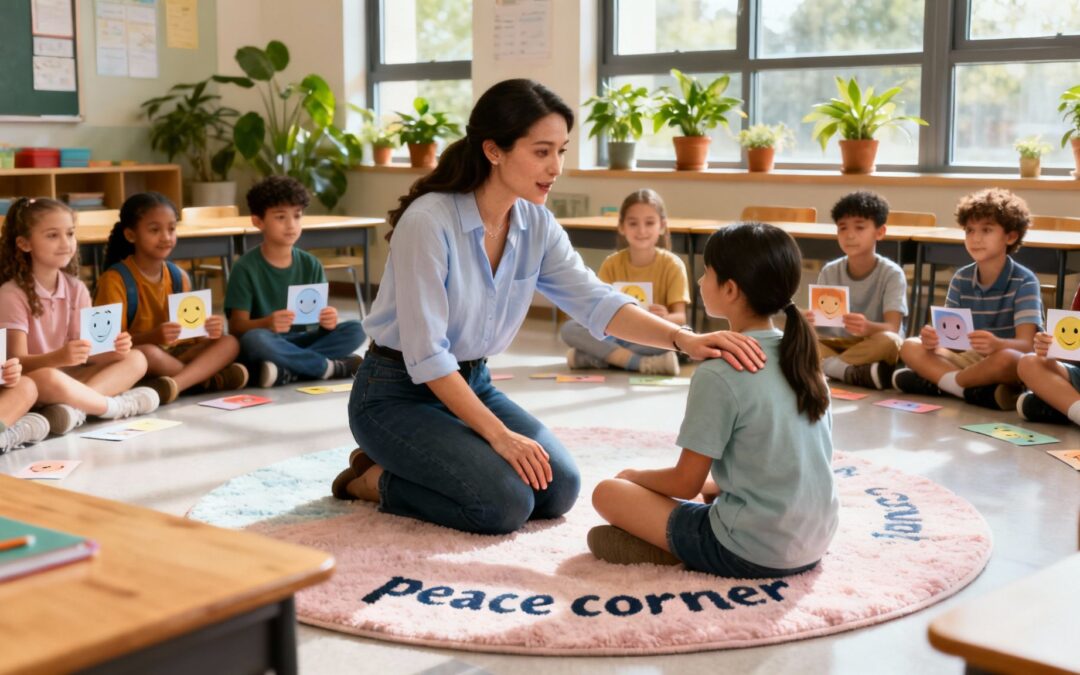
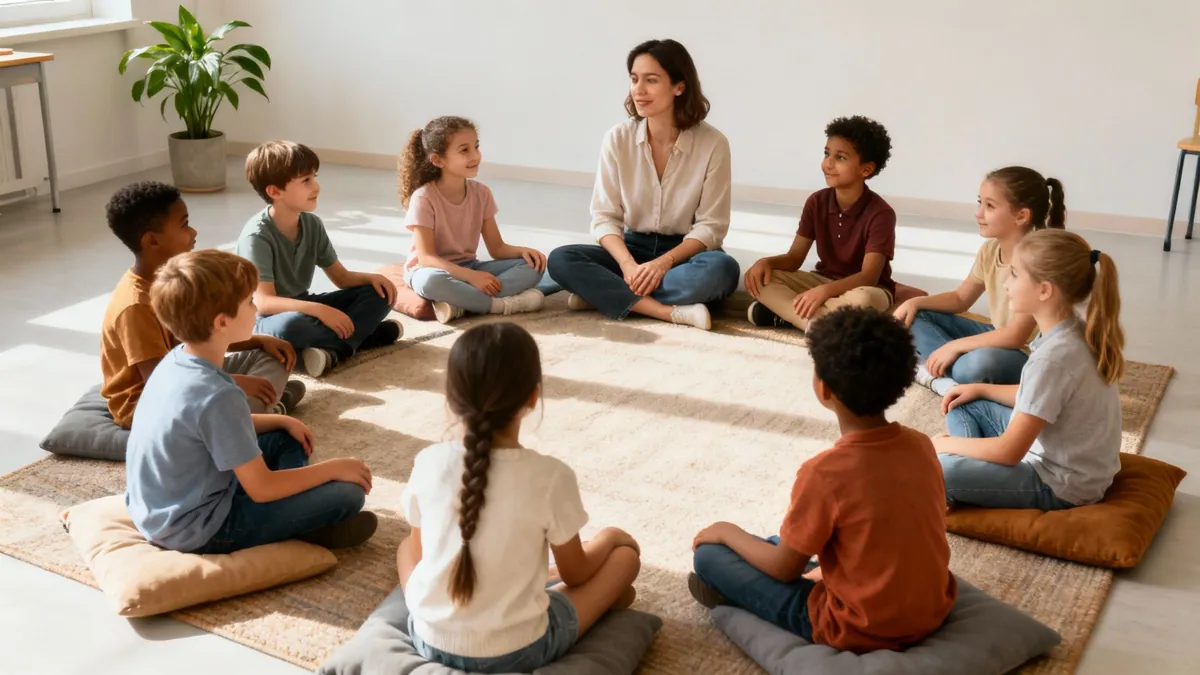
Restorative justice, on the other hand, is more like a community roundabout. When a conflict happens, everyone involved has a chance to navigate a path forward together. The person who caused the harm, the person who was harmed, and even other affected community members all come into the circle. The goal isn’t just to assign blame but to foster understanding, healing, and true accountability.
This isn’t just another program; it’s a mindset that transforms school culture. By teaching empathy and connection, it creates a genuinely safer and more supportive place for everyone to learn and grow. You can dive deeper into how this works by exploring various restorative practices.
Moving Beyond Punishment
Let’s make this real. Imagine a student, Leo, scribbles all over another student’s, Maya’s, artwork.
- A traditional response: The teacher sends Leo to the principal’s office, and he gets detention. Leo serves his time, but Maya is still upset about her ruined project, and the tension between them is left to fester. Nothing was really solved.
- A restorative response: The teacher facilitates a conversation, maybe in a small circle. Leo has to face Maya and hears how his actions made her feel disrespected and sad. Maya gets to explain why her artwork was so important to her. Together, they decide that a good way for Leo to make it right would be to help her recreate the damaged part.
In the second scenario, Leo isn’t just “in trouble.” He’s confronting the real-world impact of his choices and taking direct responsibility for fixing the harm he caused. That’s what true accountability looks like in action.
The Focus Is on Relationships
At its heart, restorative justice recognizes a simple truth: conflict harms relationships, and those relationships must be at the center of any solution. It’s built on the understanding that strong communities are the foundation of a great school. When students feel seen, heard, and connected to one another, they are far better equipped to thrive, both academically and emotionally.
To help clarify the difference, let’s compare the two approaches side-by-side.
Traditional Discipline vs Restorative Justice at a Glance
| Element | Traditional Discipline | Restorative Justice |
|---|---|---|
| Core Focus | Broken rules and assigning blame. | Harmed relationships and meeting needs. |
| Key Question | “What rule was broken and what is the punishment?” | “Who was harmed and what is needed to make things right?” |
| Accountability | Defined as accepting punishment. | Defined as understanding impact and repairing harm. |
| Outcomes | Often leads to isolation, resentment, and disconnection. | Fosters empathy, mutual understanding, and reintegration. |
| Communication | Top-down, authority-driven. | Dialogue-based, involving all affected parties. |
| Goal | Compliance and control. | Healing, learning, and community building. |
As the table shows, the restorative path leads to a very different destination—one where students learn from their mistakes in a way that strengthens the entire school community.
This method creates a space for healing and accountability rather than division and punishment. It provides students with practical tools for self-regulation, communication, and conflict resolution that last a lifetime.
The Core Principles of Restorative Practices
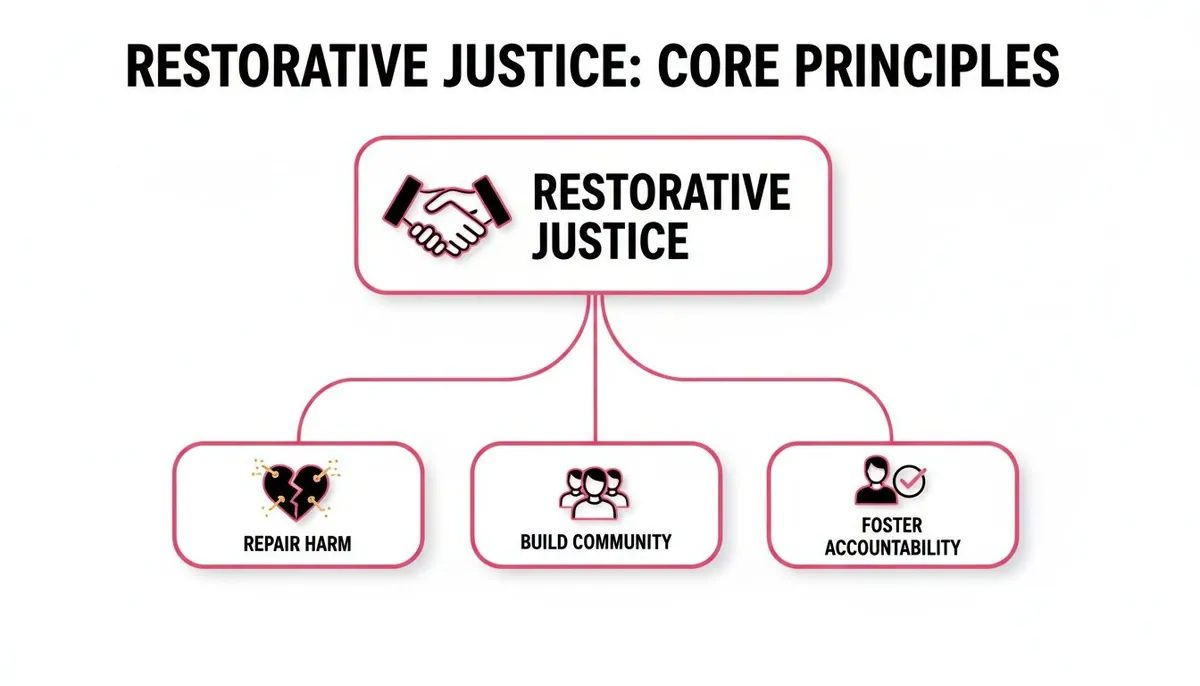
To really get what restorative justice is all about in schools, you have to look past the textbook definition and dive into its foundations. These aren’t just abstract ideas; they’re the active ingredients that shift a school’s culture from punitive to healing. Think of them like the legs of a stool—if you take one away, the whole thing wobbles.
At its core, restorative justice is built on three interconnected principles. Each one moves the focus away from punishment and toward resolution, creating a stronger, more connected community along the way.
Repairing Harm
The first and most important principle is repairing harm. In a traditional system, when a rule gets broken, all eyes are on the rule-breaker. In a restorative model, the focus flips to the harm that was done and what the person who was hurt needs. Accountability isn’t about serving time in detention; it’s about actively taking steps to make things right.
This requires a student to directly acknowledge how their actions affected someone else. It pulls them out of a passive state of just accepting a consequence and into an active role of mending the tear they created in the community fabric.
Practical Example: Picture a fourth-grader, Alex, who gets frustrated during a group project and smashes a classmate’s carefully built model bridge.
- Instead of an automatic timeout, the teacher helps them talk it out. The classmate shares how angry and disappointed she is that her hard work was destroyed.
- Alex is then tasked with helping repair the damage. He spends his recess helping her find new materials and rebuild the bridge, piece by piece.
- Through this, Alex doesn’t just “do his time.” He comes face-to-face with the results of his actions and helps fix the problem he made, learning a huge lesson about respect and responsibility.
Building Community
The second principle is building community. Restorative justice isn’t just a reactive plan for when things go south; it’s a proactive way to keep harm from happening in the first place. It’s based on the simple truth that conflict is far less likely in places where students feel safe, connected, and seen.
Strong relationships are the bedrock of a positive school climate. When students and teachers actually know and trust each other, they’re more likely to be vulnerable, work through disagreements respectfully, and cheer each other on. This sense of belonging is a massive piece of social-emotional wellness.
“Restorative practices create space for healing and accountability rather than division and punishment. They offer a way to make amends, rebuild trust, and strengthen relationships within the community.”
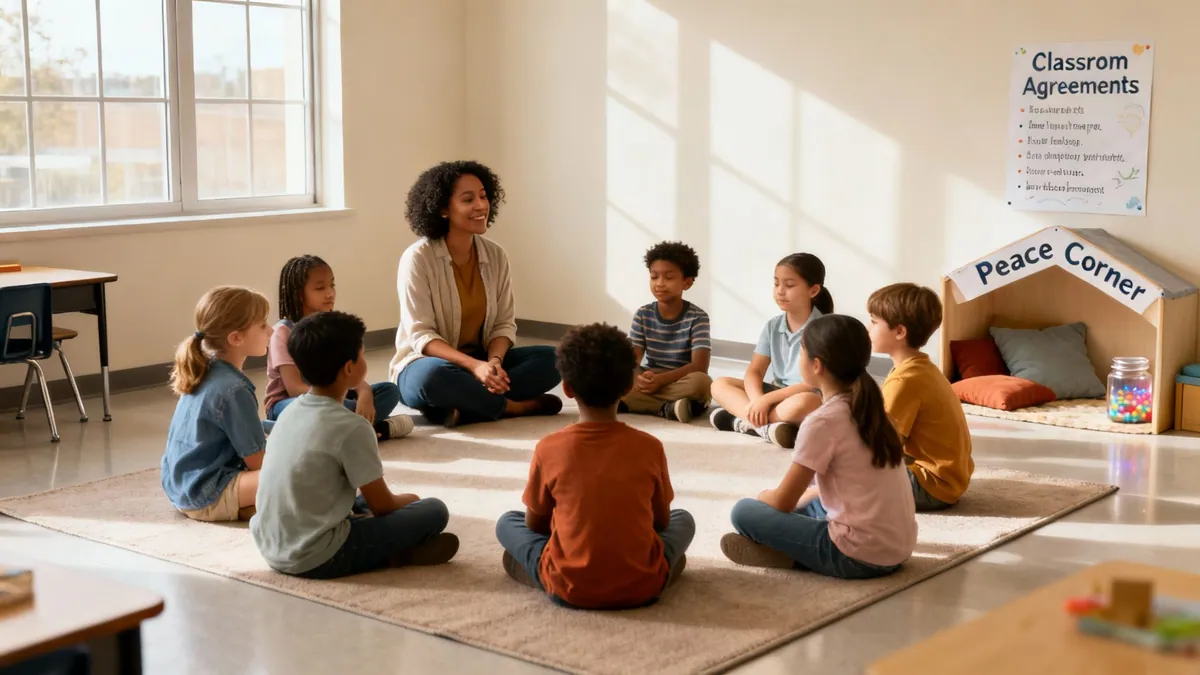
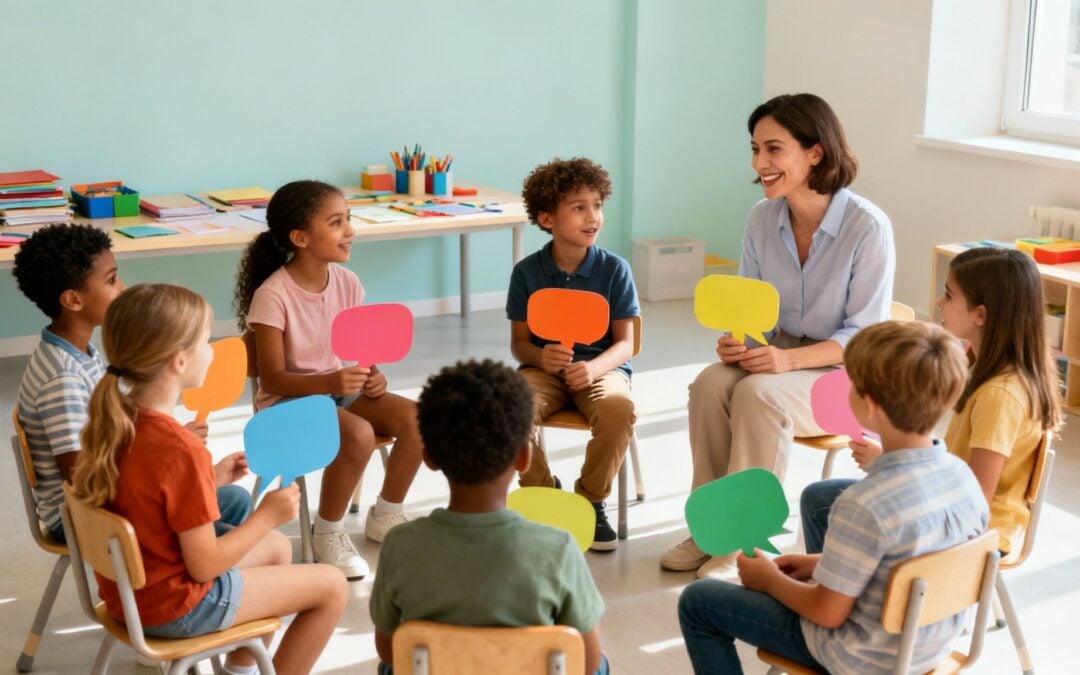
Practical Example: A second-grade teacher kicks off every single day with a five-minute “check-in circle.” Each student gets a chance to answer a simple prompt like, “Share one word that describes how you’re feeling today,” or “What’s one thing you’re looking forward to?”
- This simple, daily routine carves out a predictable space for every student to be seen and heard.
- Over time, kids get more comfortable sharing their feelings and listening to their peers.
- This foundation of trust makes it so much easier to navigate conflicts when they pop up, because the lines of communication are already wide open.
Fostering True Accountability
Finally, the third principle is fostering true accountability. This might be the most misunderstood part of restorative justice. It’s not a “soft” approach that lets kids off the hook. In fact, it often demands more from them than traditional punishment ever could.
True accountability is about understanding the full ripple effect of your actions, facing the people you’ve harmed, and working together on a solution to fix the relationship. It’s about taking ownership, not just taking a penalty. This process builds essential life skills, and you can learn more about how it develops empathy in the classroom in our detailed guide.
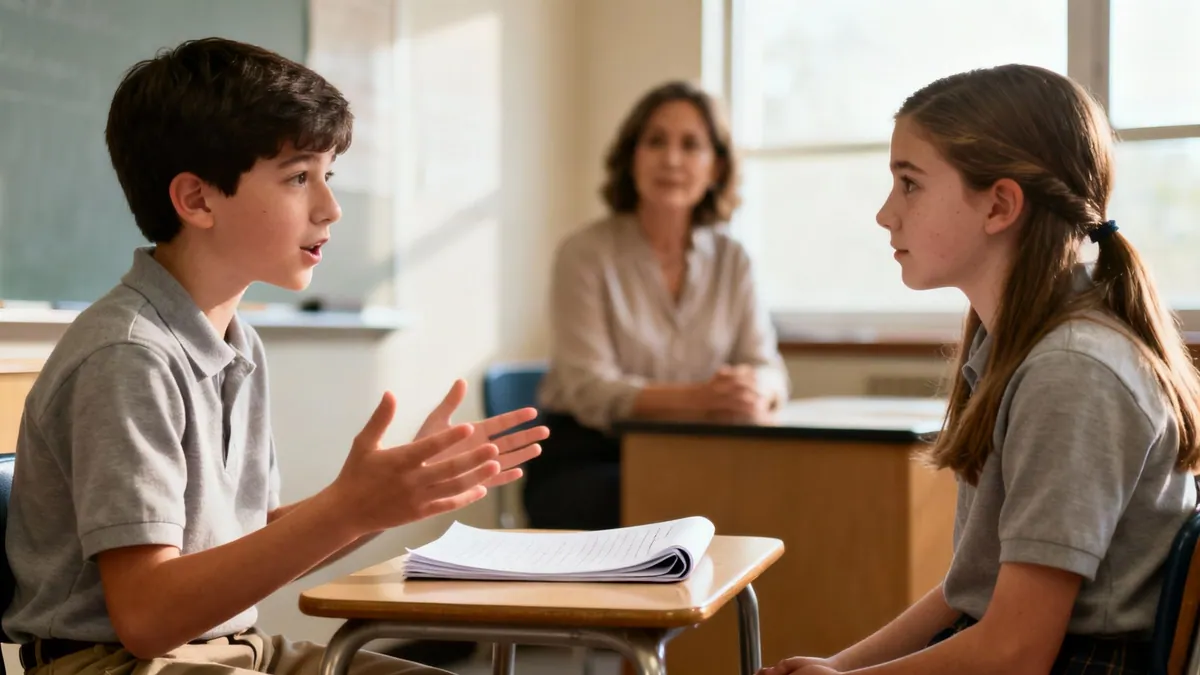
Practical Example: A middle schooler spreads a nasty rumor about a classmate online. The rumor causes the targeted student a lot of pain and makes them feel isolated.
- A restorative conference is held with both students, a school counselor, and their parents.
- The student who was harmed gets to share how the rumor affected their friendships and sense of safety at school.
- The student who started the rumor has to listen and then work with the other student to create a plan. This might involve posting a public correction, writing a sincere apology letter, and even presenting to their class about the dangers of cyberbullying.
This outcome requires courage, reflection, and a real commitment to making things right—a much deeper accountability than a simple suspension could ever provide.
Implementing Restorative Justice in Your School
Making the leap from understanding restorative justice in theory to putting it into practice can feel like a big step. The key is a structured, tiered approach that makes implementation feel manageable and, more importantly, effective. This model helps schools apply the right level of support at the right time—from proactive community building for everyone to more intensive responses when serious harm occurs.
Think of this framework less as a rigid set of rules and more as a flexible guide. It’s designed to help schools build a restorative culture from the ground up, ensuring every student benefits from a community-focused environment while also having clear processes for when things go wrong.
The diagram below shows how the core principles of repairing harm, building community, and fostering accountability all work together. They aren’t separate ideas but interconnected pillars holding up the entire restorative process.
Tier 1: Proactive Community Building for All Students
Tier 1 is the foundation. The goal here is to build such strong relationships and a positive classroom climate that most conflicts never even start. These practices are universal, meaning they are for every student, every day.
The focus is on proactive strategies that create a deep sense of belonging and psychological safety. When students feel genuinely connected and respected, they’re far more likely to succeed academically and less likely to act out. These strategies aren’t add-ons; they’re woven directly into the fabric of daily classroom life.
Practical Examples for Parents and Teachers
- Daily Check-In Circles: Start or end the day with a quick circle where everyone shares an answer to a prompt. This simple act builds empathy, listening skills, and a sense of community.
- Sample Prompt: “Share one kind thing you did for someone today,” or “What is one thing you’re feeling grateful for?”
- Classroom Agreements: Instead of a top-down list of rules, the class works together to create agreements for how they want to treat one another. This gives students real ownership over their environment.
- Process: The teacher might ask, “How do we want to feel in our classroom?” and “What can we all agree to do to make sure everyone feels that way?” The answers become the class’s living constitution.
Tier 2: Responsive Practices for Minor Conflicts
When the inevitable minor issues pop up—an argument over a game, a misunderstanding, or a small disagreement—Tier 2 practices offer a structured way to respond. These interventions are for some students, some of the time, and are designed to address harm quickly before it escalates.
This is where we shift from being proactive to responsive, using restorative language and conversations to guide students toward a resolution. It’s about teaching them to see conflict not as a fight to be won, but as a problem to be solved together.
The goal of a restorative conversation isn’t to find a winner and a loser. It’s to help everyone involved understand each other’s perspective and find a way to move forward in a good way.
Practical Examples for Parents and Teachers
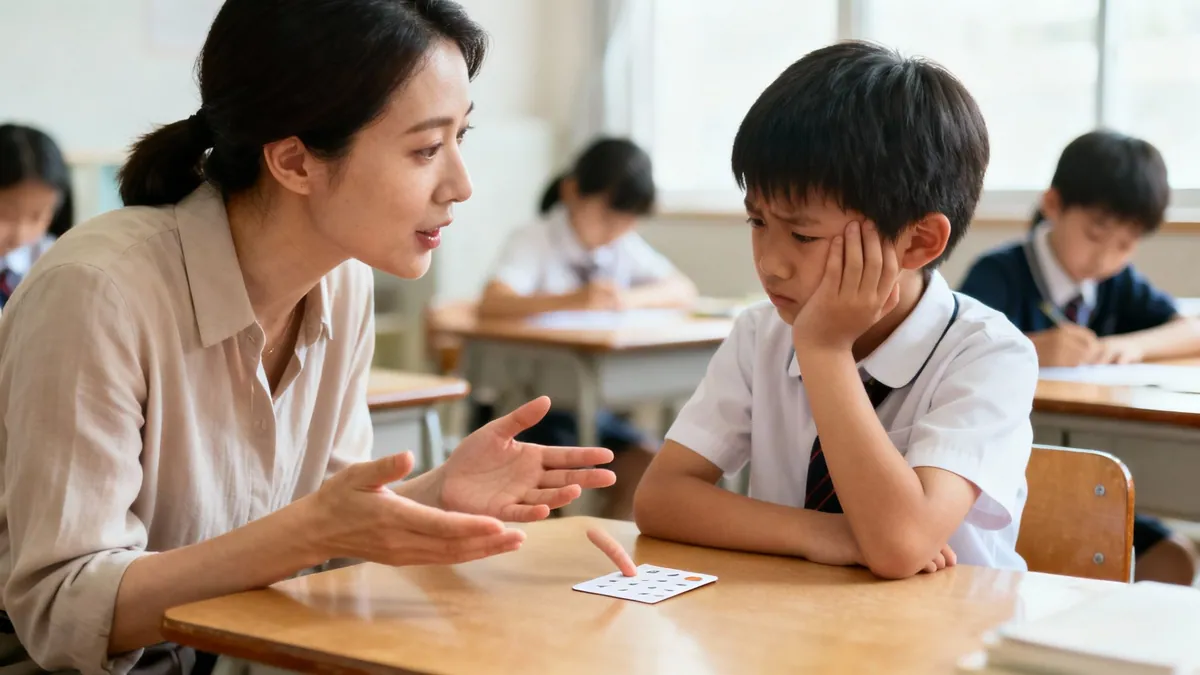
- Guided Restorative Conversations: A teacher or parent can facilitate a brief, structured chat between students in conflict.
- Sample Question: “What were you thinking and feeling at the time?” or “What did you need in that moment that you weren’t getting?”
- Peer Mediation: Older students can be trained to help younger students work through their disputes. This empowers kids to take on leadership roles in maintaining a peaceful school culture.
- Process: Two students in conflict meet with a neutral student mediator who guides them through a problem-solving process without ever taking sides.
Tier 3: Intensive Interventions for Significant Harm
Tier 3 is reserved for more serious incidents that cause significant harm to individuals or the whole community. These are formal processes for a few students who need intensive, wrap-around support. They involve bringing everyone affected by an incident together to collectively decide how to repair the harm that was done.
This is the most intensive level and almost always requires a trained facilitator, like a school counselor or an administrator. The process involves careful preparation before the meeting and dedicated follow-up after to ensure it’s safe and productive for everyone involved.
Practical Examples for School Staff
- Formal Restorative Conferences: This is a structured meeting that includes the person who caused harm, the person who was harmed, and their supporters (like parents or friends).
- Goal: To give the harmed person a voice, help the person who caused harm understand the full impact of their actions, and create a plan for repair that everyone agrees on.
- Re-Entry Circles: When a student returns to school after a suspension or another long absence, a circle can be held to welcome them back and begin mending relationships with peers and teachers.
The move toward these practices is growing. A recent EdWeek Research Center survey revealed that 48% of educators report their schools are using restorative justice more now than they did before the 2018-19 school year. By integrating these strategies, schools are better equipped to build the supportive environments essential for effective social-emotional learning programs for schools.
How Restorative Approaches Can Reshape a School Community
When a school begins to shift from a punitive to a restorative mindset, the change doesn’t just stop at student conflicts. It’s so much bigger than that. This approach doesn’t just manage behavior; it starts to transform the entire school ecosystem. The ripple effects create a climate where students feel safer, more connected, and truly understood, leading to powerful improvements in their well-being and how they show up to learn.
Instead of just handing out consequences, restorative practices dig deeper to repair harm and get to the root of what’s really going on. The question changes from “What rule was broken?” to “What happened here, and who was impacted?” This simple but profound shift opens the door to understanding a student’s unmet needs, whether it’s a lack of connection, a struggle at home, or a need for specific social skills.
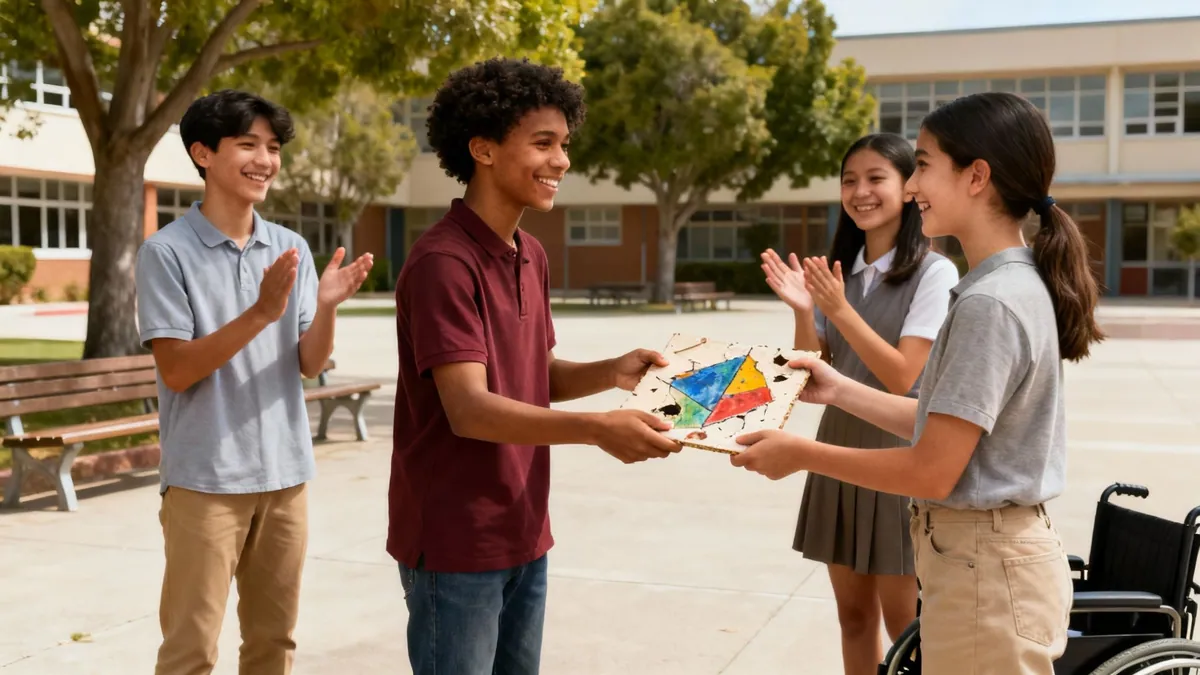
This focus on understanding and healing brings real, tangible results. It’s not just a feel-good idea. Schools that commit to restorative approaches almost always see a major drop in disciplinary actions that pull kids out of the classroom.
Studies consistently show that schools implementing restorative justice see reduced rates of suspensions and expulsions. This is huge. It means more students stay in the learning environment where they belong, preventing them from falling behind academically and feeling disconnected from their school community.
Creating a Safer and More Connected Climate
One of the biggest wins of restorative justice in schools is the way it nurtures a positive school climate. When students are actively involved in building and maintaining their community—through circles, shared agreements, and open dialogue—they develop a powerful sense of ownership. They learn that their voice matters and that they have a shared responsibility to look out for one another.
This creates a culture of psychological safety where students feel comfortable taking academic risks, asking for help, and just being themselves. The result is a vibrant community where empathy and mutual respect become the norm, not the exception. To learn more about this, check out our guide on how to improve school culture.
Practical Example for Parents and Teachers:
Imagine a typical hallway conflict where one student pushes another. A punitive approach might mean an immediate office referral and a detention slip. But a restorative approach leads to a conversation. A teacher might pull both students aside and ask:
- “Can you each tell me what happened from your perspective?”
- “How did that make you feel?”
- “What do you need to feel respected and safe here?”
This dialogue doesn’t excuse the push. It addresses the underlying feelings, helps restore the relationship, and teaches invaluable conflict-resolution skills that prevent future incidents.
Closing Racial Gaps in School Discipline
One of the most powerful outcomes of restorative justice is its ability to create more equitable learning environments for every child. We know that traditional, zero-tolerance policies have often led to disproportionately high rates of suspension and expulsion for students of color. Restorative practices directly challenge this by replacing subjective, punitive responses with consistent, relationship-focused solutions.
By focusing on the harm and the needs of everyone involved, these approaches help reduce the influence of implicit bias in disciplinary decisions. The results can be remarkable, especially for students from marginalized backgrounds who have historically been over-disciplined.
This isn’t just a theory; it’s backed by some really compelling evidence. Restorative practices have been shown to be incredibly effective in reducing racial disparities in school discipline, with Black students often seeing the most significant benefits in major urban districts. Research in Chicago Public Schools, for instance, revealed transformative outcomes for Black students who had previously faced stark inequities in discipline. You can find more insights in this promising research from Brookings.
For restorative justice to really take root in a school, it can’t just be a classroom thing. When the principles of repairing harm and building community are echoed at home and championed by key staff, they become part of the school’s DNA.
This is where families and school counselors become so important. They aren’t just bystanders; they are active partners in creating a consistent, supportive environment for every child. When everyone works together, the positive effects multiply, and students truly start to internalize these crucial social-emotional skills.
How Families Can Support Restorative Practices at Home
When kids hear the same restorative language at home that they hear at school, it creates a seamless world for them. It reinforces the lessons they’re learning about empathy and accountability. After all, parents and caregivers are a child’s first and most influential teachers.
You don’t have to be an expert to bring these ideas into your family life. It often just means small shifts in how you talk about conflict—moving the focus away from blame and toward understanding and repair.
Practical Examples for Parents:
- During Sibling Arguments: Instead of sending kids to separate rooms, try guiding a restorative chat. Ask questions that get them thinking about each other’s feelings.
- “How do you think your actions made your brother feel?”
- “What was going through your mind when that happened?”
- “What’s one thing you can do to make things right between you?”
- When a Rule is Broken: If a child makes a mess and doesn’t clean it up, connect the consequence directly to the harm.
- Instead of a timeout, the repair could be helping with an extra household chore. This isn’t a punishment; it’s about contributing back to the family, which teaches responsibility in a tangible way.
By using restorative language at home, parents help their children build an internal compass for empathy and accountability. This consistency sends a powerful message: repairing our relationships is something our whole community values.
The Crucial Role of the School Counselor
School counselors are perfectly positioned to be the champions of a school’s restorative justice work. With their training in mediation, communication, and student well-being, they can act as facilitators, coaches, and guides for everyone involved.
Counselors often become the central hub for restorative efforts, helping weave these practices into every part of the school’s support system. Their expertise makes them natural leaders for navigating sensitive conversations and showing others how to do the same.
Key Responsibilities for School Counselors:
- Leading Formal Conferences: When something serious happens, counselors can step in as skilled, neutral facilitators for Tier 3 incidents. They ensure the process feels safe and fair, keeping the focus on genuine repair for everyone.
- Training and Coaching Teachers: Counselors are great resources for professional development. They can model how to lead community-building circles or use restorative questions to handle minor conflicts, building confidence and skill across the entire staff.
- Integrating Principles into Counseling: In one-on-one or small group sessions, counselors can weave in restorative ideas. This might mean helping a student see the impact of their behavior on others or guiding them through the steps of mending a friendship.
When counselors take on these roles, they make sure restorative justice is applied with consistency and care, deepening its impact on students’ social and emotional health.
Navigating Common Challenges and Measuring Success
Tips for Implementation
- For Younger Students (K-3): Use Mirroring, where partners face each other and one student mirrors the movements of the other. This builds focus and connection. Use simple, primary emotions for charades.
- For Older Students (4-8): Try Personal Space Bubbles. Use tape to mark a circle around a student and have others slowly approach, with the student saying “stop” when they feel uncomfortable. This makes the concept of boundaries tangible.
- Differentiation: All activities should be “opt-in,” allowing students who are uncomfortable with physical expression to observe or participate in a different role, such as timekeeper or guesser.
By engaging in these hands-on communication skills activities, students gain a deeper understanding of social dynamics. For more ideas on how to build these skills, you can explore strategies for teaching children about reading social cues.
4. Fishbowl Discussions
Fishbowl Discussions are a structured conversation format where a small inner circle of students discusses a topic while a larger outer circle observes. The roles then switch, giving everyone a chance to both speak and listen critically. This dynamic setup sharpens public speaking, active listening, and analytical skills in a controlled environment.
This is one of the most effective communication skills activities for teaching students how to engage in and analyze a conversation simultaneously. It helps participants understand the mechanics of a healthy dialogue, from building on others’ ideas to using evidence, while the observers learn to identify effective communication strategies.
How It Works
Purpose: To develop speaking and active listening skills, encourage critical thinking, and allow students to analyze group dynamics.
Time: 25–40 minutes
Materials: Chairs arranged in two concentric circles (an inner “fishbowl” and an outer circle), discussion prompts or a text to analyze.
Step-by-Step Directions:
- Set Up the Circles: Arrange a small circle of 4–6 chairs in the center (the fishbowl) and a larger circle of chairs around it for the observers.
- Assign Roles: A small group of students begins in the fishbowl, while the rest of the class sits in the outer circle as observers.
- Provide the Prompt: Give the inner circle a specific, thought-provoking question or topic.
- Practical Example (2-4): “What are three rules that make our classroom a better place?”
- Practical Example (5-8): After reading a chapter about a character facing a dilemma, ask, “What were the character’s choices, and what would you have done differently?”
- Begin the Discussion: The inner circle discusses the prompt for a set amount of time (e.g., 8–10 minutes). The outer circle listens silently and takes notes on a specific task, such as tracking how often participants build on each other’s points.
- Switch and Debrief: After the time is up, the inner and outer circles switch roles. A new group enters the fishbowl with a new or related prompt. A final whole-group debrief can discuss both the content and the communication process.
Tips for Implementation
- For Younger Students (2-4): Use simpler topics like, “What makes a good friend?” Give observers a clear, simple task, like using a thumbs-up when they hear a kind word.
- For Older Students (5-8): Tackle more complex topics, like analyzing a character’s motivations in a novel or debating a school policy. Provide observers with a rubric to evaluate the discussion’s quality.
- Differentiation: Use sentence frames to support students in the fishbowl (e.g., “I agree with ___ because…” or “To add to what ___ said…”). Allow observers to write or draw their observations instead of only taking notes.
This activity not only builds individual communication skills but also enhances the entire class’s awareness of what makes a discussion productive. To further support students in navigating challenging conversations, explore the peer mediation strategies within Soul Shoppe’s violence prevention and bullying prevention programs.
5. I-Messages and Nonviolent Communication Practice
I-Messages and Nonviolent Communication (NVC) are structured frameworks that teach students to express their feelings and needs clearly without blaming or criticizing others. Instead of accusatory “you” statements, students learn to use an “I feel…” format, which reduces defensiveness and opens the door for genuine understanding and problem-solving.
This practice is one of the most transformative communication skills activities because it shifts the focus from fault to feeling. It empowers students with a concrete tool to navigate conflict constructively, making it a cornerstone of effective social-emotional learning and a core component of Soul Shoppe’s approach to conflict resolution.
How It Works
Purpose: To teach students how to express personal feelings and needs responsibly, reduce blame in conflicts, and foster empathetic responses.
Time: 20–25 minutes for initial instruction and practice.
Materials: Whiteboard or chart paper, markers, and scenario cards (optional).
Step-by-Step Directions:
- Introduce the Formula: Write the I-Message formula on the board: “I feel [emotion] when [specific situation/behavior] because [my need or what is important to me].”
- Model with Examples: Provide clear, relatable examples.
- “You” statement: “You’re so annoying for making that noise!”
- “I-Message”: “I feel distracted when I hear tapping because I need quiet to focus on my work.”
- Brainstorm Feelings and Needs: Create lists of “feeling words” (sad, worried, confused) and “need words” (respect, safety, friendship) to give students a vocabulary to draw from.
- Practice with Scenarios: Have students practice turning “you” statements into I-Messages.
- Practical Example: Turn “You never pick my idea for the game!” into “I feel left out when my ideas aren’t chosen because I want to be part of the team.”
- Role-Play: Pair students up to practice using I-Messages in brief role-playing situations, such as a disagreement over a game or a misunderstanding in the hallway.
Tips for Implementation
- For Younger Students (K-3): Simplify the formula to “I feel ___ when you ___.” Use picture-based feeling charts. Focus heavily on identifying and naming emotions before moving to the full sentence structure.
- For Older Students (4-8): Introduce the “because” part of the statement to help them connect their feelings to underlying needs. Discuss how I-Messages can be used to solve bigger problems with friends and family.
- Differentiation: Provide sentence stems (“I feel ___ when ___ because ___.”) for students who need more support. Acknowledge that using this format can feel awkward at first and praise any effort.
I-Messages are a powerful tool for building a more respectful and empathetic classroom. To dive deeper into their application, explore our guide on The Magic of ‘I Feel’ Statements for Kids: Transforming Disagagreements.
6. Peer Mediation and Conflict Resolution Role Practice
Peer Mediation and Conflict Resolution Role Practice trains student leaders to facilitate constructive conversations between peers experiencing conflict. This activity uses structured steps to help disputants understand each other and find mutually acceptable solutions, transforming conflict into a learning opportunity. It empowers students with advanced communication skills, empathy, and leadership.
This practice is one of the most impactful communication skills activities because it moves beyond theory into real-world application. It builds a culture of student-led problem-solving, reduces office referrals, and equips children with the tools to navigate disagreements respectfully and independently, a skill they will use for the rest of their lives.
How It Works
Purpose: To develop advanced communication, problem-solving, and leadership skills by training students to mediate peer conflicts effectively.
Time: 20–30 minutes for role-playing; ongoing for a formal program.
Materials: Role-play scenarios, a designated quiet space, and visual aids of the mediation steps.
Step-by-Step Directions:
- Train Mediators: Select and train a group of students in the principles of mediation: neutrality, confidentiality, and active listening. This often requires dedicated training sessions.
- Introduce a Scenario: Present a common conflict scenario for practice.
- Practical Example (K-3): “Two students are arguing over who gets to use the red crayon first.”
- Practical Example (4-8): “One student feels their friend shared a secret they told them in confidence.”
- Assign Roles: Assign students to be the disputants and the mediators.
- Role-Play the Mediation: Guide the student mediators as they lead the disputants through the conflict resolution process: setting ground rules, allowing each person to share their story, identifying feelings and needs, brainstorming solutions, and agreeing on a plan.
- Debrief: After the role-play, lead a discussion about what worked well and what was challenging. Focus on the communication strategies used by the mediators.
Tips for Implementation
- For Younger Students (K-3): Use simplified steps, often called “Peace Talks.” Focus on “I-statements” and expressing feelings. A “conflict corner” with visual cues can provide a structured space for practice.
- For Older Students (4-8): Establish a formal peer mediation program where trained students are available to help resolve conflicts during recess or lunch. Ensure mediators understand the importance of confidentiality and when to involve an adult.
- Differentiation: Start with heavily scaffolded role-plays where the teacher guides the mediators through each step. As students gain confidence, allow them to lead the process more independently.
This approach not only resolves immediate conflicts but also builds a proactive, positive school climate. To explore more about building these skills, you can find effective conflict resolution strategies for kids that complement peer mediation.
7. Digital Communication and Online Etiquette Simulations
Digital Communication and Online Etiquette Simulations are activities that teach students how to interact respectfully and effectively in digital spaces. Through role-playing, case studies, and guided practice, students learn to navigate the complexities of online tone, digital empathy, and conflict resolution. These exercises are crucial for preparing students to be responsible and kind digital citizens.
This practice is one of the most relevant communication skills activities today, as it directly addresses the modern landscape where students build and maintain relationships. It equips them with the tools to prevent cyberbullying, understand the permanence of their digital footprint, and communicate with clarity and consideration online.
How It Works
Purpose: To develop digital literacy, teach online etiquette (netiquette), and build empathy for others in digital interactions.
Time: 20–30 minutes
Materials: Device with internet access (optional), printed scenarios or worksheets, whiteboard or chart paper.
Step-by-Step Directions:
- Introduce a Scenario: Present a relatable digital scenario.
- Practical Example: “A friend keeps sending you memes during a virtual class, and the teacher is starting to notice. You are worried about getting in trouble.”
- Analyze the Situation: As a class, discuss the scenario. Ask questions like, “How might the person who received the comment feel?” and “What could be the a a’s motivation?”
- Brainstorm Responses: Have students work in small groups to brainstorm potential responses. These could include ignoring the comment, reporting it, defending the person, or messaging the commenter privately.
- Simulate and Role-Play: Select a few potential responses and have students role-play them. For example, they could write out a supportive public comment or a private message to the person who was targeted.
- Debrief and Create Agreements: Discuss the outcomes of each simulated response. Use this discussion to collaboratively create classroom agreements for positive online communication.
Tips for Implementation
- For Younger Students (K-3): Use simplified, text-only scenarios. Focus on basic rules like “Only say things online you would say in person” and “Ask a grown-up for help if something feels wrong.”
- For Older Students (4-8): Explore more complex topics like the impact of tone in text messages, the ethics of screenshots, and how to disagree respectfully in an online forum. Use real (but anonymized) examples they can relate to.
- Differentiation: For students who are hesitant to share, use anonymous polling tools to gauge their responses to different scenarios. Provide sentence starters for practicing supportive or assertive online comments.
By directly teaching and simulating these situations, we help students apply pro-social skills to the digital world. You can find more strategies for creating a safe and respectful school climate in Soul Shoppe’s resources on building a Bully-Free School Culture.
8. Empathy Mapping and Perspective-Taking Exercises
Empathy mapping is a collaborative, visual tool that helps students step into someone else’s shoes. Participants create a chart to explore what another person is thinking, feeling, seeing, and hearing in a specific situation. This exercise moves beyond simple sympathy and builds the cognitive and emotional skills needed for true empathy and perspective-taking.
This practice is one of the most powerful communication skills activities because it makes the abstract concept of empathy tangible and actionable. By systematically analyzing another’s experience, students learn to suspend judgment, recognize different viewpoints, and communicate with greater understanding and compassion.
How It Works
Purpose: To develop deep empathy, enhance perspective-taking abilities, and improve conflict resolution skills by understanding others’ motivations.
Time: 25–40 minutes
Materials: Chart paper or whiteboards, markers, and an empathy map template (with sections for “Says,” “Thinks,” “Does,” and “Feels”).
Step-by-Step Directions:
- Introduce the Subject: Choose a person or character for the empathy map.
- Practical Example: Use the antagonist from a story the class just read, such as the wolf from “The Three Little Pigs,” to understand their motivations beyond just being “bad.”
- Display the Template: Draw the four quadrants (Says, Thinks, Does, Feels) on the board or provide handouts.
- Brainstorm in Quadrants: Guide students to brainstorm what the person might experience in each category. Use prompting questions: “What might they be worried about?” (Thinks), “What actions would we see them take?” (Does), “What phrases might we overhear?” (Says), and “What emotions are they likely feeling inside?” (Feels).
- Fill the Map: As a class or in small groups, students fill in the map with their ideas, using sticky notes or writing directly on the template.
- Debrief and Reflect: Discuss the completed map. Ask questions like, “What surprised you?” or “How does this change how you see this person’s situation?”
Tips for Implementation
- For Younger Students (K-3): Use a simplified map with just “Feels” and “Thinks.” Map a familiar character from a picture book after a read-aloud to explore their motivations.
- For Older Students (4-8): Map complex figures, such as a stakeholder in a current event or even a bully, to understand the root causes of behavior. After mapping, have students write a short narrative from that person’s point of view. For activities focused on practicing modern digital interactions, incorporating tools like a whatsapp widget for tutoring can provide a relevant and practical simulation experience.
- Differentiation: For students who struggle with abstract thought, provide a specific scenario (e.g., “Map what a student feels on their first day at a new school”). Allow drawing or using emojis in addition to words.
9. Collaborative Problem-Solving Challenges and Group Communication Tasks
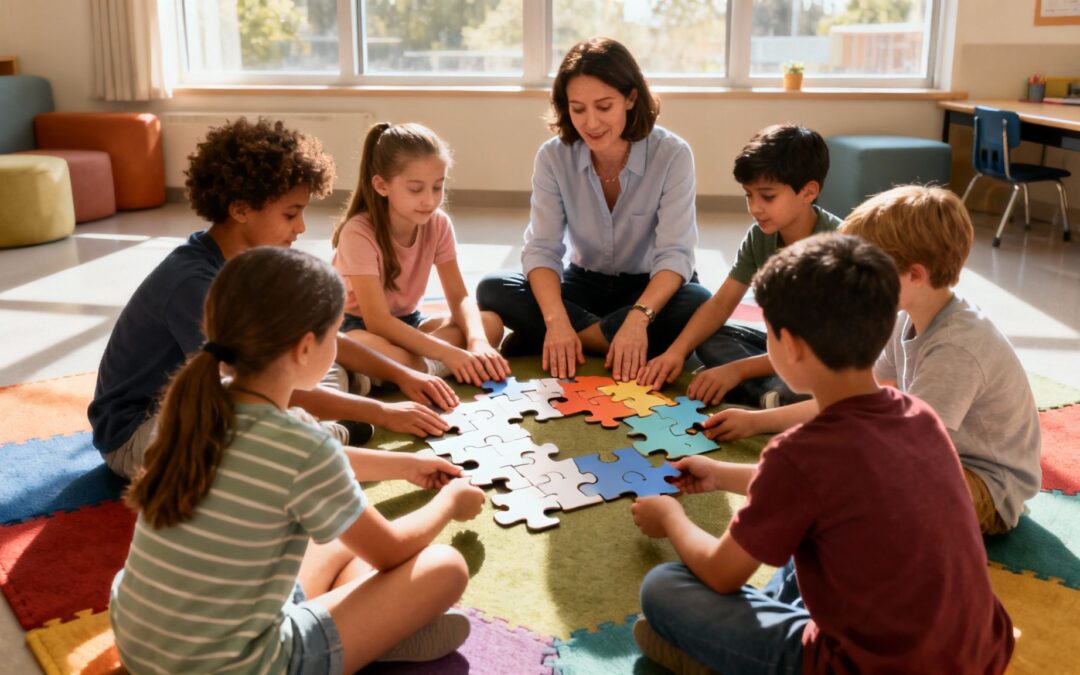
Collaborative Problem-Solving Challenges are tasks where students must work together to achieve a common goal that is impossible to complete alone. These activities require students to negotiate roles, share ideas, and combine different perspectives to find a solution. Through these shared experiences, students learn the power of teamwork, critical thinking, and effective interpersonal communication.
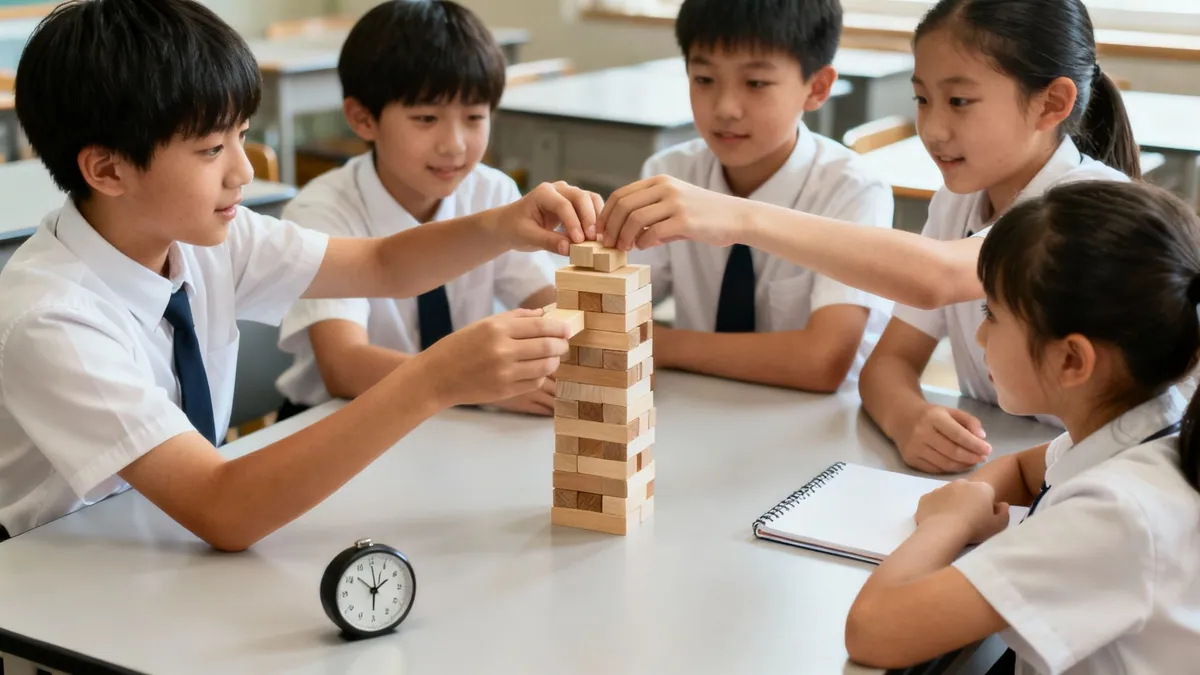
These group communication tasks are vital among communication skills activities because they simulate real-world scenarios where collaboration is key. They teach students to value diverse viewpoints, manage disagreements constructively, and build consensus, reinforcing that collective effort often leads to the most innovative solutions.
How It Works
Purpose: To develop teamwork, problem-solving, negotiation skills, and an appreciation for diverse perspectives.
Time: 20–30 minutes
Materials: Varies by activity (e.g., LEGOs, spaghetti and marshmallows, cups, puzzle pieces, rope).
Step-by-Step Directions:
- Form Groups: Divide students into small, mixed-ability groups of 3-5.
- Present the Challenge: Introduce the task and its constraints.
- Practical Example: The “Human Knot” challenge, where students stand in a circle, grab hands with two different people across from them, and then work together to untangle the “knot” of arms without letting go.
- Explain Communication Rules: Set clear expectations for communication. Emphasize that all ideas should be heard and respected.
- Facilitate the Activity: Give students a set time to plan and execute their solution. Observe their communication patterns and how they handle disagreements.
- Debrief and Reflect: After the time is up, lead a group discussion. Ask questions like, “What communication strategies worked well?” and “What would you do differently next time?”
Tips for Implementation
- For Younger Students (K-3): Use simple, tangible tasks like building the tallest possible tower with a set number of blocks or a “Cup Stack Relay.” Focus on taking turns and using kind words. The goal is successful participation over a perfect outcome.
- For Older Students (4-8): Introduce more complex challenges, such as escape room-style puzzles or a “Blind Construction” activity where one student describes a structure for another to build without seeing it. Assign specific roles like facilitator or timekeeper to ensure accountability.
- Differentiation: Ensure tasks are challenging but achievable for all groups. For students who struggle with group work, provide sentence starters or a script to help them contribute their ideas positively.
These activities provide a dynamic, hands-on way to teach communication skills. For more tools that foster peer-to-peer connection and cooperation, explore Soul Shoppe’s engaging student programs.
10. Gratitude and Appreciation Communication Rituals
Gratitude and Appreciation Communication Rituals are structured activities that give students regular opportunities to express thanks and recognition. By creating dedicated time for students to appreciate peers, teachers, and their community, these rituals help build positive relationships, reinforce pro-social behaviors, and shift the classroom focus from deficits to strengths.
This practice is essential among communication skills activities because it teaches students how to articulate positive feelings constructively. It fosters a culture of kindness and belonging, showing students that their positive contributions are seen and valued, which is central to creating a safe and connected learning environment.
How It Works
Purpose: To develop skills in expressing and receiving appreciation, strengthen peer relationships, and build a positive, supportive classroom culture.
Time: 5–15 minutes, depending on the format.
Materials: Varies by activity (e.g., paper, sticky notes, a jar, a shared journal).
Step-by-Step Directions:
- Introduce the Concept: Explain what appreciation means. Model a specific and meaningful appreciation.
- Practical Example: Instead of saying “Thanks, Maya,” try “I want to appreciate Maya for helping me pick up my crayons when I dropped them. It made me feel supported.”
- Choose a Ritual: Select a format that fits your classroom. A simple start is an “Appreciation Circle” during a morning meeting.
- Set the Rules: Establish guidelines for giving and receiving appreciation. The giver should be specific, and the receiver should learn to simply say, “Thank you.”
- Facilitate the Activity: For an Appreciation Circle, pass a talking piece and have each student share one thing they appreciate about another person. For an “Appreciation Mailbox,” have students write anonymous notes and read them aloud at the end of the week.
- Make it a Habit: Integrate the ritual into your regular classroom routine (daily or weekly) to build momentum and make it a cultural norm.
Tips for Implementation
- For Younger Students (K-3): Use a “Thankfulness Tree.” Students can write or draw what they are thankful for on paper leaves and add them to a large tree cutout on the wall.
- For Older Students (4-8): Start a Gratitude Journal where students write detailed entries about people or experiences they appreciate. This encourages deeper reflection and improves written communication skills.
- Differentiation: Offer multiple formats for expressing gratitude, including verbal sharing, writing, or drawing. Provide a private option, like an appreciation box, for students who are uncomfortable with public recognition.
Creating these consistent rituals is a powerful way to embed social-emotional learning into your daily schedule. To learn more about fostering a culture of belonging, explore the principles in Soul Shoppe’s SEL-focused student assemblies.
10 Communication Activities Comparison
| Technique | Implementation complexity | Resource requirements | Expected outcomes | Ideal use cases | Key advantages |
|---|---|---|---|---|---|
| Active Listening Circles | Medium — needs facilitation and ground rules | Low–Moderate — time, facilitator, talking piece | Increased empathy, psychological safety, belonging | Emotional check-ins, restorative circles, classroom meetings (K-3 with modifications) | Builds deep listening, validates voices, fosters inclusion |
| Role-Playing & Perspective-Taking Scenarios | Medium–High — scenario design and skilled facilitation | Moderate — time, scripts/prompts, facilitator | Improved empathy, conflict-resolution skills, confidence | Practicing hard conversations, bullying response, social skills (K-8) | Experiential practice with immediate feedback; memorable learning |
| Nonverbal Communication & Body Language Activities | Low–Medium — simple activities with clear boundaries | Low — space, short activities, optional recording | Better emotion recognition and self-awareness | SEL lessons, language-barrier support, theater-integrated lessons | Inclusive, engaging, strengthens nonverbal awareness |
| Fishbowl Discussions | Medium — requires clear roles and protocols | Moderate — time, seating/space, observation guides | Enhanced critical thinking, observation, peer learning | Literature analysis, debate prep, large-group discussions | Models strong discussion practices; engages observers |
| I‑Messages & Nonviolent Communication Practice | Low–Medium — teaching formula and modeling | Low — visuals, practice time, adult modeling | Reduced defensiveness, clearer emotional expression | Conflict de-escalation, classroom norms, peer mediation prep | Simple shared language; transferable across settings |
| Peer Mediation & Conflict Resolution Practice | High — extensive training and policy supports | High — 20–40+ hrs training, adult oversight, referral system | Peer-led resolutions, leadership development, fewer referrals | Schools building restorative systems, leadership programs (mediators typically older students) | Develops student leadership and sustainable peer support |
| Digital Communication & Online Etiquette Simulations | Medium–High — up-to-date scenarios and facilitation | High — devices, tech expertise, current examples | Improved digital empathy, safer online behavior, cyberbullying reduction | Digital citizenship lessons, remote learning contexts (age-appropriate) | Directly addresses real-world online challenges; practical skills |
| Empathy Mapping & Perspective-Taking Exercises | Low–Medium — template-driven with guided prompts | Low–Moderate — templates, time for research/interviews | Deeper perspective-taking, analytical and research skills | Literature, social studies, pre-conflict understanding | Visual, systematic method to make empathy concrete |
| Collaborative Problem-Solving & Group Tasks | Medium — careful task design and facilitation | Moderate–High — materials, space, extended time | Stronger teamwork, communication, critical thinking | STEM challenges, team-building, cooperative learning | Engaging, shows value of diverse perspectives in practice |
| Gratitude & Appreciation Communication Rituals | Low — easy to implement consistently | Low — brief time, simple materials | Increased belonging, positive culture, improved well-being | Daily/weekly classroom routines, closing circles (K-8) | Low-cost, high-impact; reinforces strengths and community |
Putting Communication into Action: Your Next Steps
We’ve explored a comprehensive toolkit of ten dynamic communication skills activities designed to empower students from kindergarten through eighth grade. Moving beyond passive learning, these hands-on exercises transform abstract concepts like active listening, empathy, and conflict resolution into tangible, memorable experiences. From the focused intention of Active Listening Circles to the complex social navigation of Digital Communication Simulations, each activity provides a unique pathway to building a more connected, respectful, and collaborative classroom or home environment.
The common thread weaving through these diverse activities is the principle of practice. Communication is not a static subject to be memorized; it is a fluid skill that must be rehearsed, refined, and reflected upon. A single session on “I-Messages” is a great start, but true mastery comes from consistently creating opportunities for students to use these tools in low-stakes, supportive settings.
Key Takeaways for Lasting Impact
As you integrate these exercises, remember these core principles to maximize their effectiveness:
- Scaffolding is Crucial: Start with foundational skills before moving to more complex ones. For example, ensure students are comfortable with Nonverbal Communication cues before asking them to engage in a nuanced Peer Mediation role-play. A solid base prevents frustration and builds confidence.
- Contextualize the Learning: Always connect the activity back to real-world situations. After a Fishbowl Discussion on a hypothetical playground conflict, ask students, “When might you see a situation like this during recess? How could using an ‘I-Message’ change the outcome?” This bridge makes the skills relevant and applicable to their daily lives.
- Model, Model, Model: Children and young adolescents learn as much from observation as they do from instruction. Demonstrate active listening when a student speaks to you. Use “I-Messages” when expressing your own feelings. Your consistent modeling validates the importance of these skills and provides a constant, living example.
- Consistency Over Intensity: A 15-minute Gratitude and Appreciation Ritual once a week can have a more profound, lasting impact than a single, two-hour workshop on communication. Weaving these communication skills activities into the regular rhythm of your classroom or family routine normalizes them, making them a natural part of your shared culture.
Your Actionable Next Steps
Feeling inspired? The journey from reading about these activities to implementing them is the most important step. Here is a simple, actionable plan to get you started:
- Choose One Activity: Don’t try to do everything at once. Review the list and select one activity that best addresses a current need in your group. Is listening a challenge? Start with Active Listening Circles. Are minor conflicts derailing lessons? Try I-Messages and Nonviolent Communication Practice.
- Schedule It: Commit to a specific day and time. Put it on your calendar or in your lesson plan. For example, decide to run a 20-minute Collaborative Problem-Solving Challenge every Friday afternoon for the next month.
- Prepare and Adapt: Gather your materials and think through any necessary differentiations. If you’re working with younger students on Empathy Mapping, you might use simple emojis for feelings instead of written words. For older students, you could use a complex character from a novel they are reading.
- Reflect and Iterate: After the activity, create space for reflection. Ask students: “What was challenging about that? What felt easy? What did you learn about how you communicate?” Use their feedback, and your own observations, to adjust your approach for the next time.
By intentionally and consistently cultivating these skills, you are doing more than just teaching students how to talk and listen. You are equipping them with the fundamental tools they need to build healthy relationships, navigate complex social landscapes, and advocate for themselves with confidence and compassion. You are laying the groundwork for a future where they can connect, collaborate, and contribute meaningfully to the world around them.
Ready to take your school’s social-emotional learning to the next level? The activities in this guide are a powerful start, and Soul Shoppe provides comprehensive programs that build a culture of empathy and respect throughout your entire school community. Explore our evidence-based programs and bring expert-led, transformative SEL experiences to your students by visiting Soul Shoppe.