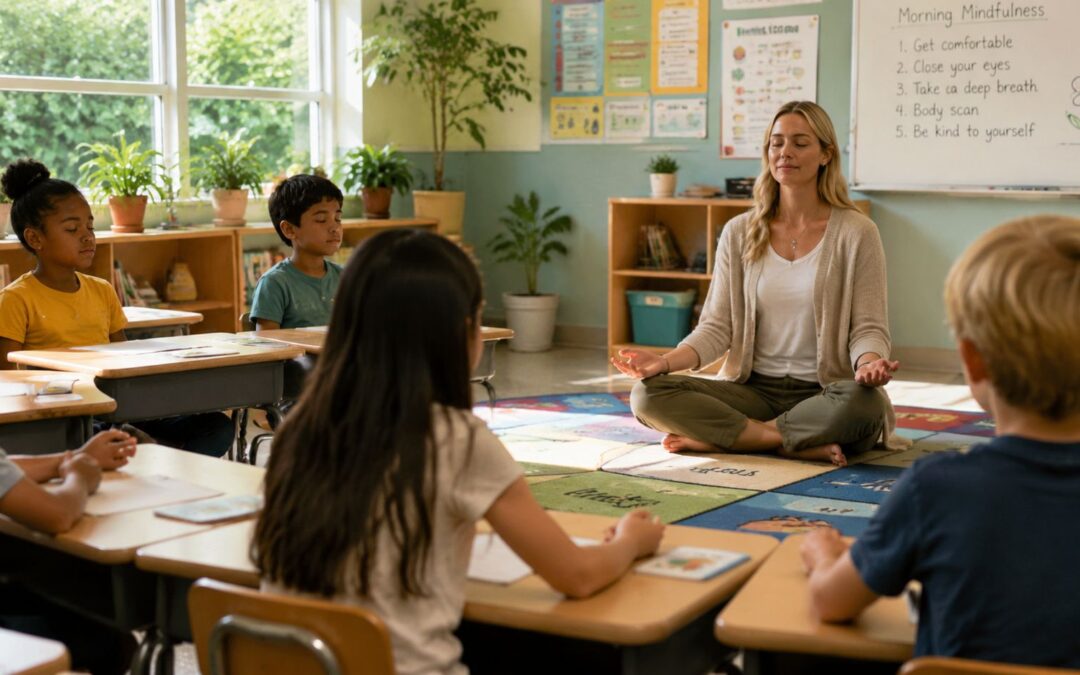
Right after recess, the room can feel full of unfinished sentences, wiggly legs, and one child who's already bracing for the math check-in. Just before a test, the same room can swing the other way, quiet on the surface but tight underneath. A body scan meditation script gives you a way to meet that energy without adding more noise, and in K-8 settings that matters because calm doesn't arrive by accident.
A 2022 meta-analysis of 14 trials found that body scan meditation produced a small but statistically significant increase in mindfulness, with Hedges' g = 0.27, a 95% confidence interval of 0.03 to 0.50, and p < .05 (PubMed). That's a modest effect, not a magic fix, but it's exactly the kind of grounded evidence school teams can work with when they're choosing an SEL tool for real classrooms. For many educators, a body scan fits because it can be delivered in a brief guided format of about 20 minutes or less and still stay useful in school rhythms.
This practice can settle a room without turning it into a performance. The children who need movement can stay seated and track sensations instead. The children who need reassurance can notice the floor under their feet, the chair under their hips, or the breath moving in and out. For a companion exercise that uses a similar steady rhythm, a step-by-step PMR guide can help you compare how body awareness and muscle relaxation differ in practice. If you're also looking for a simple grounding companion, Soul Shoppe's grounding techniques for kids pairs naturally with this work.
Grounding Your Classroom with the Body Scan
A third grader once told me, right before a spelling quiz, that her stomach felt like “a washer on spin.” Another student at the same table was kicking the chair legs and smiling too hard, which usually means the nerves are already in charge. In moments like that, a body scan works because it gives students a job that's internal, structured, and quiet enough to fit the room.
The practice isn't complicated, but it is deliberate. The body scan has become a core entry practice in mainstream mindfulness because it needs no equipment, can be done sitting or lying down, and is easy to script for children, caregivers, and school staff. Public guidance also shows how flexible the format is, with some scripts spending 20 to 30 seconds per area and others offering a 20-minute version (Berkeley Greater Good). That range matters in schools, where a teacher may need a fast reset after lunch or a deeper practice during SEL time.
Practical rule: if the room is dysregulated, make the script simpler, not longer.
A body scan also gives children a vocabulary for self-awareness. Instead of asking, “How do you feel?” and getting shrugs, you can ask, “What do you notice in your shoulders?” or “Is your jaw tight, loose, or somewhere in between?” Those prompts are concrete, which helps younger learners, and they're also calm enough to use before transitions, after conflict, or when winding down.
If you're deciding whether to use this practice or a more movement-based one, a body scan meditation script can sit alongside breathing or grounding tools, not replace them. That's the mindset that keeps SEL practical. You're not trying to create perfect silence, you're giving students a repeatable way to come back to themselves.
Three Ready-to-Use Body Scan Scripts
Shorter mindfulness practices have become more common because classrooms and homes need something that fits the day, not something that competes with it. Public resources now offer 3-, 5-, and 10-minute body scan versions, which reflects how often educators need quick, integrated practices instead of long standalone sessions (Mindful). A good body scan meditation script works best when the timing matches the moment.
3-Minute Reset for Transitions
Use this when students are coming in from recess, lining up for lunch, or shifting after a loud activity. Keep your voice steady and your instructions short.
Sit with both feet on the floor or lie down if there's space. Take one slow breath in and out. Notice your feet. Notice your legs. Notice your belly. Notice your shoulders. Notice your hands. Notice your face. If any part feels busy, you don't have to change it. Just notice it and move on. Take one more breath. Feel the room around you. Open your eyes when you're ready.
10-Minute Standard Scan for SEL Time
Use this when you have a little more room for focus, especially before writing, testing, or after a difficult social moment.
Find a comfortable position, sitting or lying down. Let your breath be slow and easy. Bring attention to your toes. Move to your feet. Notice your ankles and lower legs. Notice your knees and thighs. Notice your hips and belly. Notice your chest and back. Notice your hands and arms. Notice your shoulders, neck, and face. Notice the top of your head. If you lose track, come back to the last place you remember. If a spot feels unclear, neutral, or too much, skip it. End by noticing the room, the chair or floor, and one thing you can hear.
Kid-Friendly Imagery Scan for Younger Learners
Use this with K-2 students who need something playful and concrete.
Put your body in a quiet shape. Imagine warm sunshine on your toes. Check your feet like you're looking for tiny treasure. Notice your legs, like tree trunks resting on the ground. Feel your tummy like it's a balloon gently floating. Notice your arms and hands, like they're sleeping on a cloud. Check your shoulders. Can they melt a little? Let your face be soft like a calm pond. Now notice the air around you. When you're ready, wiggle your fingers and toes.
Script Type
Duration
Best For
Key Feature
3-Minute Reset
3 minutes
Transitions, calming a noisy room
Fast, simple, low-demand
10-Minute Standard Scan
10 minutes
SEL lessons, pre-test focus, deeper settling
More complete attention path
Kid-Friendly Imagery Scan
Flexible
K-2 and mixed-age groups
Playful language, easier engagement
If your team is building a wider mindfulness library, it helps to think the same way some creators do when they solve podcast scripting bottlenecks. A clear script template removes hesitation, especially when you're trying to lead a class and keep the practice consistent. For a broader child-centered mindfulness approach, you can also connect this work with teaching mindfulness to children.
How to Lead a Body Scan Meditation
The strongest body scan script can fall flat if the delivery feels rushed or hesitant. Students read your pacing immediately, especially if they're already keyed up. A calm, even voice tells them there's no hidden test in the practice, only a chance to notice what's happening inside.
A standard body scan usually starts with a comfortable position, either sitting or lying down, which makes it flexible enough for classrooms where students stay at their desks (The Wellness Society). That's one reason it has become so useful in school-based programs. You don't need mats, special lighting, or a room full of silence to begin.
Facilitator note: the body scan works best when your tone says, “Notice,” not “Fix.”
Start with the breath, then move through the body in a clear sequence. Adults often make the mistake of talking too much while trying to guide the process. Better results usually come from short cues, small pauses, and a pace that gives the brain time to follow. A cue like “notice your feet” works better than three or four instructions piled together.
The posture choice matters too. Some children settle faster in a chair with both feet grounded, while others relax more easily on a carpet square or mat. If a child looks stiff, you can offer, “You can keep your eyes open or closed,” or, “You can stay right where you are.” For a simple companion resource on breath settling, belly breathing technique can be paired with this practice before the scan begins.
A strong classroom flow often looks like this:
Ask students to get still in a way that feels manageable.
Invite one or two slow breaths.
Move attention from feet upward, or from head downward, using the same order each time.
Pause briefly between body regions.
Close by returning attention to the room.
That structure gives children predictability. Predictability lowers the amount of mental effort needed to stay with the practice, which is useful when attention is already stretched thin.
Adapting Scripts for Children and Classrooms
The same script can land very differently in a first-grade room and an eighth-grade advisory. Younger children need concrete images and short attention steps. Older students usually do better when you talk plainly about sensation, focus, and stress, without making the practice sound babyish.
A detailed anatomical order helps a lot here. Published guidance commonly moves attention from the toes up toward the head, or in the reverse direction, and that kind of structure gives children specific anchors like “now notice your knees” or “feel the air on your face” (APA-linked mindfulness text). That's more effective than the vague instruction to “scan your body,” which leaves too much room for drift.
In K-2, keep the language playful but not chaotic. “Warm, sleepy sunshine on your toes” works because it's sensory and calm. “Spidey-senses” can work with some groups too, especially if the class already uses that metaphor for noticing clues in the body. The trick is to use one image at a time, then move on.
With grades 3-5, I shift toward simpler factual language. “Notice your shoulders,” “check your jaw,” and “feel your belly rise and fall” are usually enough. If the room gets giggly, I don't stop the practice to call it out unless the laughter is spreading. Lower your voice, slow the pace, and keep going.
Middle schoolers deserve respect in the language. They respond well when you frame the practice as a focus tool, a brain break, or a way to notice stress before it spills into behavior. They do not need a long explanation about mindfulness theory in the moment. They need something clear enough to use without feeling singled out.
For parents and teachers who want a broader support system around calm routines, Daily Powers supplements for children is one example of how families sometimes look for additional calming supports outside school. In the classroom, though, the practical work still comes back to wording, pacing, and whether the practice feels age-appropriate.
Creating a Safe and Trauma-Informed Practice
A body scan asks children to pay attention to the inside of their bodies. For some students, that's comforting. For others, especially children with trauma histories, it can feel too exposed, too quiet, or too close. That's why a trauma-informed script isn't a special add-on, it's the safer version of the practice.
One major U.S. review estimates that about two-thirds of children report at least one traumatic event by age 16, which helps explain why a “simple” mindfulness exercise can land very differently across a classroom (VA Whole Health Library). If you ignore that reality, some students will opt out by shutting down, joking, fidgeting, or checking out mentally. If you plan for it, you can keep the practice open without forcing participation.
The safest scripts give choice at every turn. You can say, “If you'd like, bring your attention to your feet,” which leaves room for a student to observe without pressure. You can also say, “You can focus on the feeling of your breath or on a comforting spot in the room.” That external anchor matters because not every child is ready to go inward for long.
Supportive language lowers pressure. Choice lowers resistance.
I also use permission language before the practice starts. “You can keep your eyes open or closed.” “You can skip any part.” “You can just listen if that feels easier.” Those phrases do more than soothe, they give students control. Control is often the missing piece in generic mindfulness scripts, and without it, the practice can feel like one more adult demand.
The teaching strategy matters as much as the wording. If a child looks activated, don't push them to describe it out loud. Let them focus on the floor, the chair, or the sound of your voice. For a fuller educator lens on this approach, trauma-informed teaching strategies is a helpful companion resource. The goal is not to force internal awareness. The goal is to make internal awareness optional, supported, and safe enough to try.
Integrating Body Scans into Your Daily Routine
A body scan only helps if students know it as part of the day. When it shows up in predictable moments, children start to recognize the routine and settle into it with less resistance. In classrooms, that predictability matters because students are already managing transitions, emotions, and attention shifts.
Use it at times when the room already needs a reset:
After recess: students come in buzzing, and a short scan helps them shift from movement to seated focus.
Before a test or quiz: the practice gives children a quiet way to notice tension before it turns into panic.
After lunch: a brief body check can help the class re-enter learning without carrying over cafeteria noise.
After conflict: a scan gives students a nonverbal path back to regulation before discussion.
At dismissal: a calmer ending can reduce the chaos that sometimes follows the last bell.
The practical challenge in classrooms is not whether students can follow the script. It is whether they can do it without feeling boxed in. If a child refuses, let them sit in silence and listen. If the group gets restless, shorten the scan instead of stretching it out. If time is tight, use the 3-minute version rather than skipping the practice entirely.
A few troubleshooting moves help in almost every setting:
If kids giggle: lower your voice, keep going, and avoid turning the giggles into a big event.
If attention drifts: return to a single body part and use the same cue again.
If a student seems uncomfortable: offer feet, breath, or room sounds as an outside anchor.
If the class is overtired: make the script shorter and more concrete.
If the room is highly activated: start with feet on the floor and one slow breath before any scan begins.
The routine gets easier when adults treat it as a normal classroom tool, not a special performance. A one-minute feet-to-breath check after lunch can change the tone of the whole transition. The class learns that this is notice time, not chaos time.
Soul Shoppe helps school communities build the shared language, safety, and connection that make practices like this easier to use every day. If you want support bringing mindfulness, empathy, and regulation into your classroom or campus, visit Soul Shoppe and explore the programs, tools, and trainings that fit your school community.
A student is tapping their pencil faster and faster. The room is louder than usual. The assignment has several steps, and you can see the moment when effort starts to turn into overwhelm. Sometimes that student shuts down. Sometimes they argue. Sometimes they crumple the paper or leave their seat.
Most teachers know that moment.
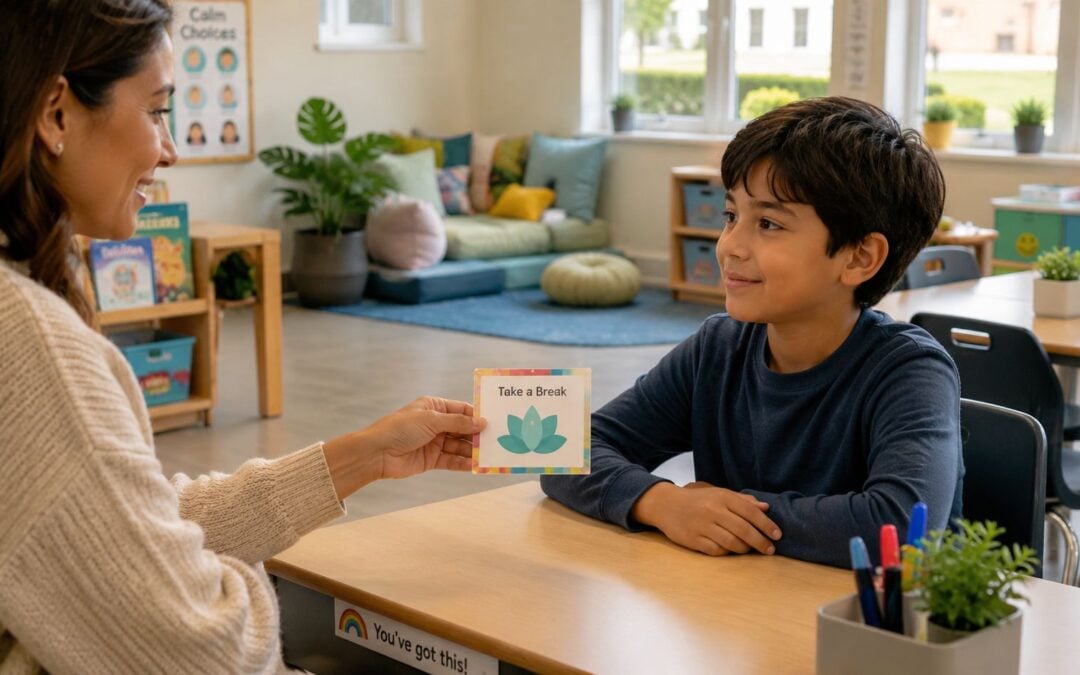
What helps is rarely a lecture about making good choices. Students need a way to communicate before stress spills over. Break cards for students can offer that path. Used well, they give a child a simple, concrete way to say, “I need a pause,” without needing the perfect words at the perfect time.
That shift matters. A break card is not just about stopping behavior. It's about helping a student notice what's happening in their body, ask for support, and return with more control. That is self-regulation in action. It also makes the classroom safer and steadier for everyone else.
An Introduction to Proactive Classroom Support
Many classroom supports begin too late. A teacher responds after the chair tips back, after the refusal, after the tears, after another student gets pulled into the moment. By then, everyone is trying to recover.
A break card works earlier. It gives the student a visible, predictable signal they can use before they hit their limit. Instead of waiting for escalation, you teach a routine for regulation.
That proactive stance changes the tone of the room. The student learns, “My teacher wants me to notice my stress and use a tool.” The class learns, “Taking care of yourself is part of learning here.”
What this looks like in real life
A second grader is doing writing workshop and starts erasing every sentence. A middle schooler freezes during partner work because the room feels socially intense. A student coming back from lunch is already overloaded by noise and transition.
In each case, the break card can serve the same basic purpose. It helps the student communicate a need quickly and safely.
Breaks work best when they are treated as support, not as a reward and not as a punishment.
That distinction is important. If the card feels punitive, students avoid it. If it feels random, adults stop trusting it. If it becomes part of a calm routine, students start to build confidence using it.
Why teachers often hesitate
Most hesitation comes from two honest concerns:
Will students overuse it and try to escape work?
Will some students be unable to use it independently because of language, developmental level, or stress?
Those concerns are valid. They don't mean the tool is flawed. They mean the routine has to be designed carefully. A break card system needs boundaries, modeling, and follow-through. It also needs flexibility for students who don't all communicate in the same way.
What Are Break Cards and Why Do They Work
A break card is best understood as a visual request system. The Watson Institute describes a break card as a cue that tells a student to take a break from an activity in order to prevent behavior issues, and explains that it should be taught by honoring requests during training, then gradually reducing cards as behavior improves and using the system across settings like school routines Watson Institute guidance on break cards.
That definition clears up a common misunderstanding. A break card is not just a reminder sitting on a desk. It is a communication tool. For a student who can't easily say, “I'm overwhelmed,” handing over a card may be far easier than speaking.
The real reason they help
When students use a break card successfully, several things happen at once.
The student notices internal signals. They begin to connect body cues like tight shoulders, fast breathing, or irritability with the need for support.
The student makes a safer choice. Instead of yelling, bolting, or refusing, they use an agreed-upon signal.
The adult responds predictably. That predictability lowers anxiety because the student doesn't have to guess whether they'll be heard.
The class stays more settled. One student gets support without a power struggle swallowing the lesson.
This is why break cards align so well with SEL practice. They build self-awareness, self-management, and responsible decision-making in a form young people can use in the moment.
A simple classroom example
A student in fourth grade starts to get frustrated during multi-step math. Rather than ripping up the worksheet, they place a card on the corner of the teacher's desk. The teacher nods, points to the calm area, and the student takes a short reset with a visual timer. Then they return and complete the first problem with support.
That is a small interaction, but it teaches a lasting lesson. Stress can be noticed. Help can be requested. Regulation can happen without shame.
If you're supporting students who also struggle with sustained attention, it can help to pair break routines with broader attention supports like this guide on how to improve focus with ADHD. Attention and regulation often overlap in the classroom.
Why the system needs to feel concrete
Students don't use abstract advice under stress. “Make a good choice” is too vague. “Show me your break card, go to the beanbag, set the timer, come back when it rings” is usable.
A break card system becomes even stronger when it fits into a larger school language around regulation. Soul Shoppe shares practical ideas for building that kind of common language in its post on self-regulation strategies for students.
Here's the core takeaway. Break cards for students work because they turn an emotional moment into a teachable communication routine.
Designing and Differentiating Your Break Cards
The best break card is the one a student can use. That sounds obvious, but many systems fail because adults design for neatness instead of access. A card with tiny print won't help a kindergartener. A cartoon icon may feel childish to a seventh grader. A word-only card may not work for a student with limited language.
Available guidance points to the need for adaptation across learners. NoodleNook emphasizes clear icons, adult modeling, and consistent practice before stress occurs, especially for students with limited language, inconsistent attendance, or different home-school languages, while framing the goal as a shared schoolwide language for requesting a break NoodleNook guidance on break cards.
Match the design to the student
A good starting question is not “What should break cards look like?” It's “How does this student communicate best?”
Here's a practical comparison:
Student need
Card design that may help
Example
Early learner or non-reader
Simple icon with one short phrase
A picture of a resting child with “Break”
Student with stronger reading skills
Text-based card
“I need a break”
Student who feels self-conscious
Small, neutral card
Plain-color pass card kept in binder
Multilingual classroom
Icon plus home-school language support
“Break” with visual symbol and translated label
Student who struggles to initiate
Adult-prompt version nearby
Teacher points to card and offers choice
Wording matters more than people think
Try different phrases and listen to how the student responds. One child may feel comfortable with “I need a break.” Another may prefer “I need space” or “I need calm time.” Older students often respond better when the language feels respectful rather than babyish.
A few examples:
For primary grades: “Break please”
For upper elementary: “I need a quiet minute”
For middle school: “I need to reset”
For a student with anxiety around attention: a symbol card with no words at all
The card should reduce friction, not add it.
Format choices that change usability
Some students do best with a laminated card on a ring. Others lose loose materials constantly, so a velcro card on a desk strip works better. Some students need a digital icon on a tablet or a signal card tucked inside a notebook.
Consider these options:
Desk card: Good for quick access during independent work.
Lanyard card: Useful during transitions, lunch, specials, or recess.
Check-in board: Helpful in classrooms where several regulation tools are taught together.
Duplicate sets: Smart for students moving between home, school, and aftercare.
Practical rule: If a student can't find the card when they need it, the system isn't ready yet.
Examples for inclusive classrooms
A first grader who speaks more comfortably in a language other than English may use an icon card with one familiar word from home and one from school. A student with inconsistent attendance may need the same brief practice every Monday morning so the routine stays fresh. A child who doesn't self-advocate reliably may start with adult-initiated prompts before moving toward independent use.
The break card should also connect to the break itself. If the card says “break,” but every adult defines that differently, the student gets mixed messages. Consistency matters more than decoration.
For students who need calming options once they step away, a simple menu of regulation choices can help. Ideas from how to self-soothe can pair well with a break card routine, especially when students need a concrete action after they request the break.
Creating a Successful Break Card Routine in Your Classroom
A card alone won't change much. The routine does the heavy lifting. Students need to know what happens before, during, and after the break. Adults need to respond the same way often enough that the system feels trustworthy.
Here is the classroom flow I like to teach first.
Start with a calm practice conversation
Pick a neutral time. Not during the meltdown. Not in the middle of a conflict.
You might say:
“Sometimes school feels hard or noisy or frustrating. In our class, you can ask for a break before things get too big. This card is one way to ask. When you show me the card, I'll help you take your break.”
Then show the exact steps. Don't assume students understand what “take a break” means.
A sample routine that teachers can adapt
Student shows the card. They hand it over, place it on a spot, or hold it up.
Teacher responds briefly. A nod, a quiet “yes,” or a point toward the break area.
Student goes to the designated space. This might be a calm corner, hallway check-in with supervision, or another pre-set area.
A timer is used. The break has a clear beginning and ending.
Student returns through a simple routine. They come back, rejoin the task, or begin with one supported step.
That predictability lowers stress. The student doesn't need to negotiate while dysregulated.
The video below shows the kind of calm, explicit teaching that helps new routines stick.
What this can look like in a real day
Different moments call for different levels of support.
Time of day
What’s happening
How to use the box breathing visual
Arrival
Students carry energy from home
One whole-class round after unpacking
Transition to math
Anxiety rises
Teacher points to square and leads two silent cycles
Conflict after group work
Voices are sharp
Students pause, breathe separately, then rejoin conversation
End of day
The room feels scattered
One final round before dismissal directions
The big mistake is saving the tool only for the child who is “having a hard time.” When the whole class uses it, the practice feels normal rather than corrective.
Adapting Box Breathing for Different Ages and Needs
A strong box breathing visual for adults can still miss the mark with children. The issue usually isn’t the breath itself. It’s the mismatch between the child’s developmental stage and the way the tool is presented.
One adjustment matters more than most: young children generally manage shorter breath cycles of two to three seconds better than the standard four-second version. That’s a useful reminder for anyone trying to teach the same pattern to every grade level.
Kindergarten through grade 2
Young children need brevity, movement, and imagery. Four counts can feel long, especially if they’re upset or impulsive. A 2 or 3 count square often works better.
Try language like:
“Smell the flower.”
“Freeze.”
“Blow the feather.”
“Freeze.”
Let them trace a square on the carpet, on their palm, or on a card with bright edges. Some teachers use finger puppets, small laminated “magic square” cards, or a square taped onto the floor for line-up time.
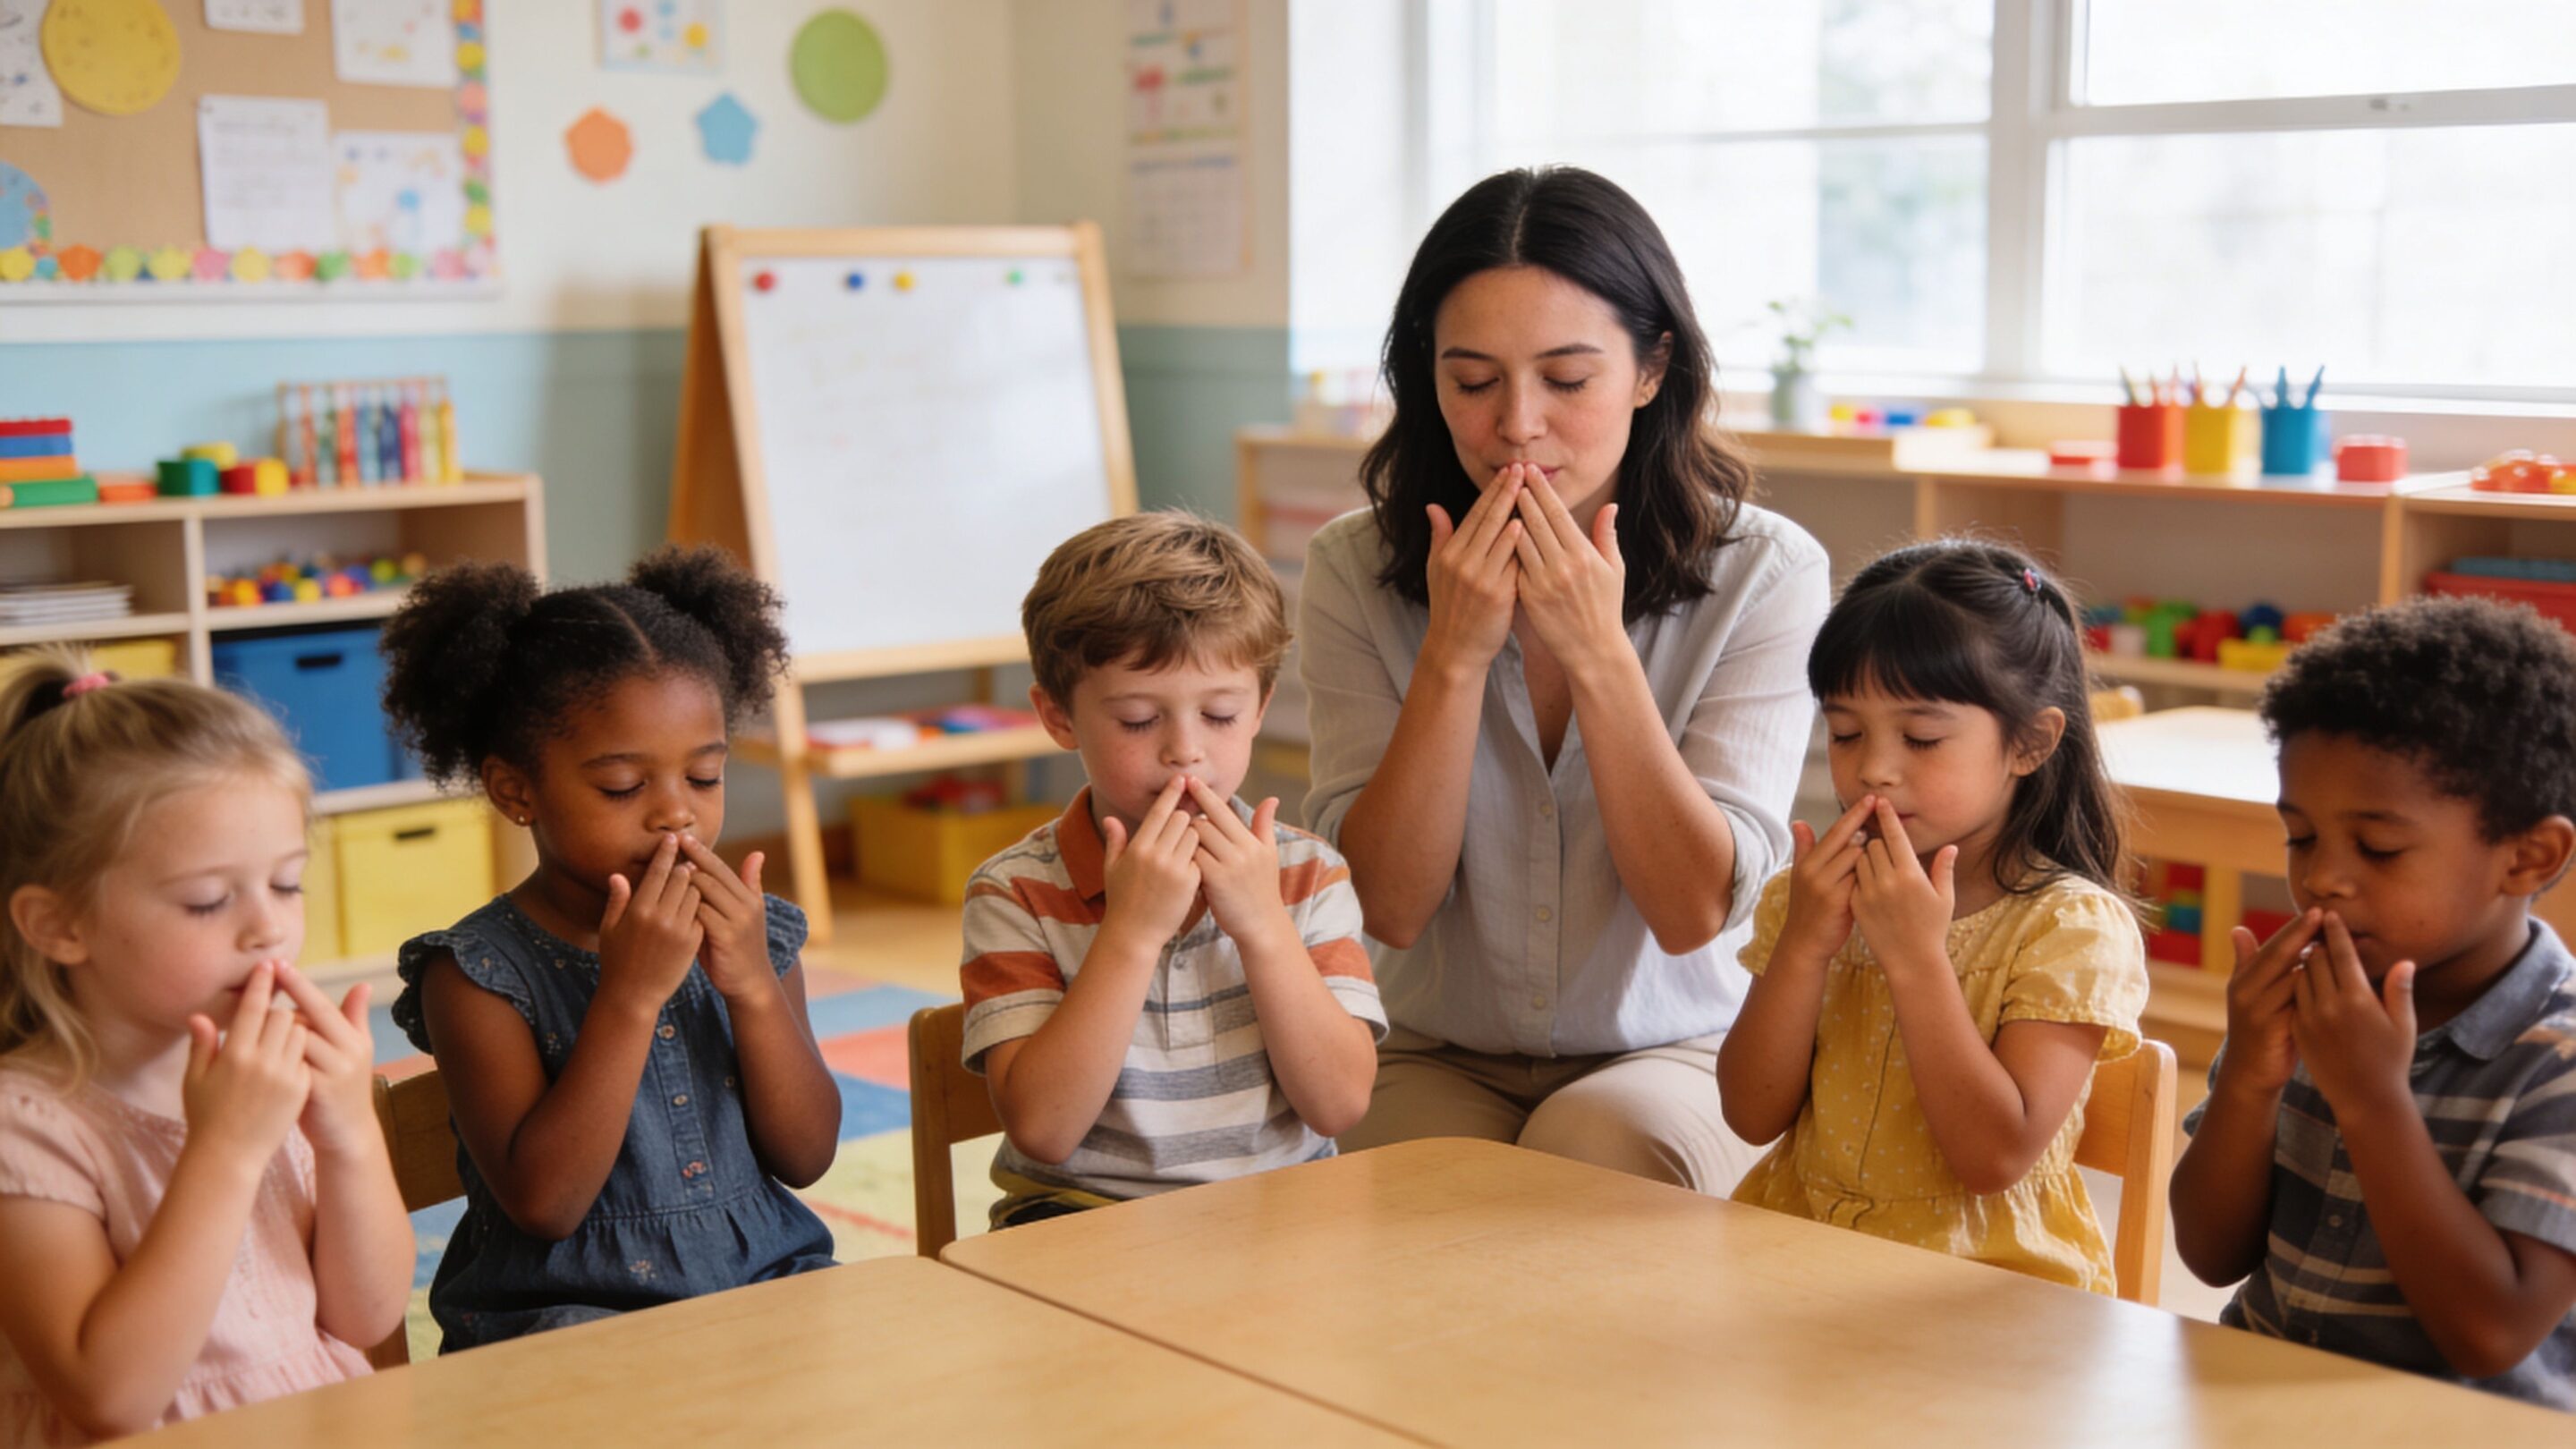
A practical example: A first-grade class comes in from lunch loud and bumping into each other. The teacher stands at the rug and says, “Show me your finger square.” Everyone traces one small box in the air while breathing together. No one has to close their eyes or sit perfectly still.
Grades 3 through 5
This age group can usually handle the classic 4 count pattern, but they still benefit from concrete context. Tie the skill to situations they already care about. Friendship tension, test nerves, getting picked for teams, frustration during writing.
A box breathing visual can sit in:
a calm corner
a take-a-break folder
a desk caddy
the top of a worksheet packet during longer tasks
Students this age also like ownership. Invite them to design a class square, choose colors, or create one for a buddy classroom.
A child is more likely to use a regulation tool they helped create.
Grades 6 through 8
Older students often resist anything that feels childish or performative. The language should be cleaner and more respectful. Focus, reset, steadiness, composure, and performance are usually better entry points than “calm down.”
Use it before:
speeches
band or choir performances
athletic competition
difficult peer conversations
tests
A middle school counselor might say, “One cycle before you walk in. In four, hold four, out four, hold four.” That works because it’s private, fast, and not loaded with extra explanation.
Neurodivergent students and flexible use
Some students need the visual but not the hold. Others need the tracing but not the counting. Some do best with a shorter pattern and repeated practice across the day.
Helpful adjustments include:
Shorter counts: Better for students who feel trapped by long holds
Silent tracing: Good for students who don’t want to stand out
Desk-based visuals: Useful when transitions are activating
Adult co-regulation: Child watches the adult breathe first, then joins if ready
The aim isn’t to make every child do the method the exact same way. The aim is to help each child find a version they can use.
What to Do When Box Breathing Gets Complicated
You introduce box breathing after lunch. One student starts huffing loudly. Two more start laughing. Another puts their head down and refuses. That kind of moment is common in K through 8 settings, and it does not mean the practice has failed. It means the adults in the room need a flexible plan.
Complications usually come from one of three places. The child feels exposed. The breathing pattern feels uncomfortable. The tool is being introduced too late, after the nervous system is already running hot.
Technique matters, but comfort matters too. A randomized controlled trial on box breathing for post-mastectomy pain syndrome noted that participants were taught diaphragmatic breathing as part of the practice, which supports the same coaching move many teachers and caregivers use with children: a hand on the belly can help shift breathing out of the chest and into a slower, steadier pattern (study details here). With students, I keep that cue simple. “Let your belly do the work.”
What if students get the giggles
The giggles usually mean the group is activated, self-conscious, or unsure what is being asked of them. Treat it as information.
Try these responses:
“We’re doing one quiet square together.”
“Watch my finger and match the pace.”
“You do not have to do it perfectly. Just stay with me for one round.”
If the whole group tips into silliness, shorten the practice and save the longer version for another time. In a classroom, protecting the tone matters more than squeezing in extra rounds.
What if a child says it’s not working
Take that seriously. “Not working” can mean the count is too long, the hold feels bad, the child is embarrassed, or they need a different regulation tool altogether.
Start with a quick adjustment:
Check body comfort: “Does the breath feel tight or forced?”
Shrink the square: Use a shorter count
Change the entry point: Trace the visual together instead of asking for closed eyes
Simplify the task: Keep only the exhale slow
Offer another tool: Pair breathing with grounding, movement, or co-regulation
That adjustment helps many younger students, anxious students, and neurodivergent students who feel trapped by breath holding. You can still use the square as a pacing visual. Breathe in for one side, out for the next, and keep the pattern going without the pauses.
Adults sometimes worry that changing the pattern means they are no longer doing “real” box breathing. In practice, a usable version is better than a perfect version that the child avoids.
The best version of the tool is the version the child can actually use.
What if adults only use it during crisis
Children notice that quickly. If box breathing shows up only when someone is upset, it starts to feel like a correction instead of a skill.
Teach it before the hard moment:
at arrival
before a quiz
after recess
before transitions
at bedtime or before homework at home
That proactive use is what makes the visual familiar enough to help later. By middle school, students are far more willing to use a quiet reset they already know than a new strategy introduced in the middle of embarrassment or conflict.
A quick troubleshooting guide
Challenge
What often happens
What works better
Child escalates quickly
Adult teaches the strategy for the first time in the moment
Practice earlier during neutral parts of the day
Child breathes high in the chest
Adult repeats the count louder
Add a hand-on-belly cue or model one slow breath
Group gets silly
Adult pushes through a long round
Do one short round and try again later
Student resists the hold
Adult insists on the full pattern
Remove the hold and keep the visual pacing
Older student shuts down
Adult uses language that feels childish
Use private, respectful cues like “reset” or “steady”
Patience matters here. Children are learning a body-based skill, and body-based skills rarely look polished at the start. In classrooms and homes, success usually looks ordinary: one quieter transition, one less power struggle, one child who remembers to use the square before things fall apart.
Frequently Asked Questions About Box Breathing
Is box breathing the best breathing method for every situation
No. It’s a strong choice for focus, composure, and steadying the body, but it isn’t the only useful breathing pattern. A source discussing a 2023 study notes that cyclic sighing, which emphasizes a longer exhale, was more effective than box breathing for improving mood and reducing respiratory rate, according to this comparison of breathing approaches. That’s why tool-matching matters.
A simple rule of thumb helps:
Use box breathing when a child needs structure and focus
Use a longer-exhale pattern when a child needs deeper downshifting
How long should a child practice
Keep it realistic. In a classroom, one to three rounds may be enough for a reset before instruction. At home, a child might use a few rounds before homework, bedtime, or a difficult conversation.
For longer-term skill building, consistency matters more than intensity. A short daily practice usually works better than saving the tool for major meltdowns.
Can kids use a box breathing visual during a panic moment
Sometimes, yes, but with care. If a child can still follow simple cues, a visual can help them orient and slow down. If they’re too overwhelmed to count or hold, simplify. Trace the shape together. Focus only on a slower exhale. Sit nearby and co-regulate first.
If a child experiences repeated panic symptoms, severe anxiety, or distress that doesn’t ease with support, breathing tools should be part of a larger plan that includes professional guidance.
Should children close their eyes
Usually not in group settings. Many children regulate better with eyes open and focused on the square. Closing the eyes can feel too vulnerable, too hard, or too activating.
What if my child refuses because it feels babyish
Change the framing. Call it a reset cycle, performance breathing, or tactical breathing. Give older kids privacy and choice. A strategy doesn’t need to look cute to be effective.
Building a Culture of Calm and Connection
A box breathing visual is small. That’s part of its power. You can tape it to a desk, post it by the classroom door, slide it into a homework folder, or keep it in a counseling office. It doesn’t require a special room or a long lesson. It asks for something more important. Consistent use, calm modeling, and language that respects children.
When adults use the tool as a shared practice instead of a correction, children learn something bigger than one breathing pattern. They learn that strong feelings can be noticed without panic. They learn that a pause is available before a reaction. They learn that classrooms and homes can become places where regulation is taught, not demanded.
That culture grows through repetition. A teacher points to the square after recess. A parent traces one before homework. A counselor uses the same rhythm before a hard conversation. Over time, the cue becomes familiar. Then usable. Then internal.
Start small:
post one child-friendly square where kids can see it
teach it when the room is already calm
use the same brief script each time
adapt the count for the child in front of you
treat practice as skill-building, not compliance
A calmer classroom and a calmer home rarely come from one dramatic intervention. They come from ordinary moments handled with steadiness, over and over again.
If you want support building that kind of steady, connected school culture, Soul Shoppe offers practical SEL programs, workshops, and resources that help students and adults develop shared language for self-regulation, empathy, and healthy relationships.