

10 Research-Based Anxiety Activities for Kids That Work in 2026
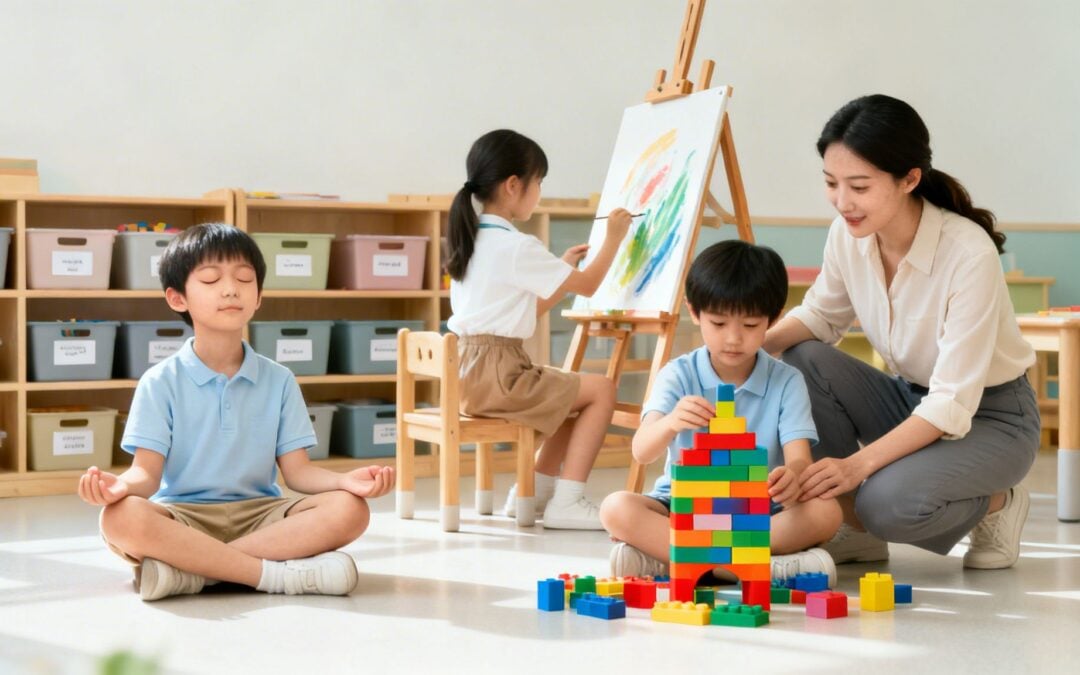
Anxiety in children can feel overwhelming for everyone involved-the child, their parents, and their teachers. It often manifests not just as worry, but as stomachaches, irritability, avoidance, or difficulty concentrating in the classroom. The core challenge lies in finding practical, in-the-moment tools that empower kids to navigate these big feelings without feeling defined by them. This guide moves beyond generic advice to offer a curated roundup of 10 evidence-based anxiety activities for kids, designed for easy implementation in both school and home settings.
This is not a theoretical discussion; it is a hands-on toolkit. Each activity is broken down into actionable steps, providing the specific language and structure needed to help children from kindergarten through 8th grade build resilience, self-awareness, and a sense of control. For example, instead of just suggesting “deep breathing,” we provide scripts for guided exercises like “Box Breathing” or “Bumblebee Breath,” complete with age-appropriate adaptations.
As experts in social-emotional learning, we have seen these strategies transform school communities by creating a shared language of support and emotional regulation. This article will equip educators, administrators, and parents with the same practical tools. You will learn how to implement structured grounding techniques, creative expression prompts, and cognitive reframing exercises that foster a sense of safety and connection. Ultimately, our goal is to help you turn moments of anxiety into powerful opportunities for emotional growth and learning.
1. Mindfulness and Deep Breathing Exercises
Mindfulness and deep breathing are foundational anxiety activities for kids because they directly engage the body’s nervous system. These practices teach children to activate their parasympathetic nervous system, which signals the body to rest and calm down, counteracting the “fight or flight” response of anxiety. By focusing on the physical sensation of the breath, children learn to anchor themselves in the present moment rather than getting carried away by worried thoughts.
This technique is effective because it’s a portable tool a child can use anytime, anywhere, without needing special equipment. It provides an immediate, tangible action they can take when they feel overwhelmed, empowering them with a sense of control over their emotional state.
How to Implement It
- Goal: To teach children a simple, reliable self-regulation technique to manage anxious feelings as they arise.
- Best For: In-the-moment calming, daily routine for emotional regulation, and transitions between activities.
- Time: 1-5 minutes.
Step-by-Step Guide:
- Introduce the Concept: Explain breathing in simple terms. For younger kids, you can say, “Let’s pretend we’re smelling a beautiful flower. Breathe in deep through your nose. Now, let’s pretend we’re blowing out birthday candles. Breathe out slowly through your mouth.” For older students, explain how slow, deep breaths tell their brain it’s safe to relax.
- Model the Technique: Practice with them. A common method is Box Breathing:
- Breathe in slowly for a count of four.
- Hold the breath for a count of four.
- Breathe out slowly for a count of four.
- Hold the breath out for a count of four.
- Practice Consistently: Integrate “Mindful Minutes” into daily routines. For example, a teacher might say, “Before we start our math test, let’s all do three ‘box breaths’ together to clear our minds.” Consistent practice during calm times helps children remember the skill when they actually feel anxious.
Practical Tips and Variations
- For Younger Children (K-2): Use “Bubble Breathing” (pretending to blow bubbles) or “Belly Buddies” (lying down with a small stuffed animal on their belly and watching it rise and fall with each breath).
- For Older Children (3-8): Introduce guided mindfulness apps or scripts. Encourage them to notice where they feel the breath in their body (nostrils, chest, stomach) to deepen their focus.
- At Home: Create a designated “calm-down corner” where breathing exercises are practiced. Parents can model the behavior by taking deep breaths themselves during stressful moments.
- In the Classroom: Establish a non-verbal signal for when a student needs a breathing break. Organizations like Soul Shoppe often integrate whole-class breathing exercises into their assemblies to create a shared school-wide language for self-regulation.
Key Insight: The power of this practice lies in its simplicity and accessibility. By teaching children to focus on their breath, you give them a lifelong tool for managing stress that requires nothing more than their own body and attention.
For more ideas on how to incorporate these practices, you can explore additional mindfulness activities for kids to expand your toolkit.
2. Progressive Muscle Relaxation (PMR)
Progressive Muscle Relaxation (PMR) is a powerful kinesthetic activity where children intentionally tense and then release different muscle groups. This process helps them become aware of the physical sensations of stress and relaxation, providing a tangible way to release the tension that often accompanies anxiety. It teaches a direct mind-body connection essential for self-regulation.
This technique is particularly effective for children who internalize anxiety physically, such as clenching their jaw, tensing their shoulders, or having stomachaches. By practicing PMR, they learn to recognize these signs of tension and gain a concrete method for letting that physical stress go, which in turn calms their minds.
How to Implement It
- Goal: To teach children how to recognize and release physical tension, giving them a hands-on tool to reduce anxiety.
- Best For: Bedtime routines to ease anxiety before sleep, calming down after an emotionally charged event, and for kids who hold stress in their bodies.
- Time: 5-10 minutes.
Step-by-Step Guide:
- Introduce the Concept: Explain that when we feel worried, our bodies can get tight and stiff. This activity helps us learn how to make our bodies feel loose and relaxed, like a floppy noodle.
- Guide the Sequence: Lead the child through a script that involves tensing and then relaxing muscle groups one by one. Use descriptive, kid-friendly language:
- Hands: “Squeeze your hands into tight fists, like you’re squeezing a lemon. Hold it… now let the juice drip out and relax your hands.”
- Arms: “Pretend you are a strongman and make a muscle. Tighter! Now let your arms go limp.”
- Face: “Scrunch up your whole face like you just smelled something sour. Wrinkle your nose and squeeze your eyes shut. Now, relax and smooth it all out.”
- End with Stillness: After moving through all the muscle groups (including shoulders, stomach, legs, and feet), have the child lie still for a minute and notice how calm and heavy their body feels.
Practical Tips and Variations
- For Younger Children (K-2): Use a “Tense and Melt” script. Have them pretend to be a snowman standing tall and stiff (tense), then imagine the sun comes out and they melt into a puddle (relax).
- For Older Children (3-8): Pair PMR with calming music or nature sounds. Encourage them to rate their tension level on a scale of 1 to 10 before and after the exercise to see the difference.
- At Home: Incorporate PMR into the bedtime routine to help a child with anxiety settle down for sleep. A parent can guide them through the steps while they are tucked in bed, whispering, “Now let’s squeeze our toes tight, like we’re digging them into the sand… and relax.”
- In the Classroom: After a high-energy activity like recess, a physical education teacher can lead a 5-minute PMR cool-down. School counselors often use this in small groups as part of anxiety intervention programs.
Key Insight: PMR gives children a physical vocabulary for relaxation. It moves the abstract idea of “calming down” into a concrete set of actions they can perform and feel, empowering them to actively manage their body’s response to stress.
3. Guided Imagery and Visualization
Guided imagery and visualization are powerful anxiety activities for kids that tap into their natural capacity for imagination. This technique involves leading a child through a detailed, multi-sensory mental journey to a calm, safe, or happy place. By focusing on these positive, imagined scenarios, children can mentally step away from anxious thoughts and feelings, effectively activating their parasympathetic nervous system to induce a state of relaxation.
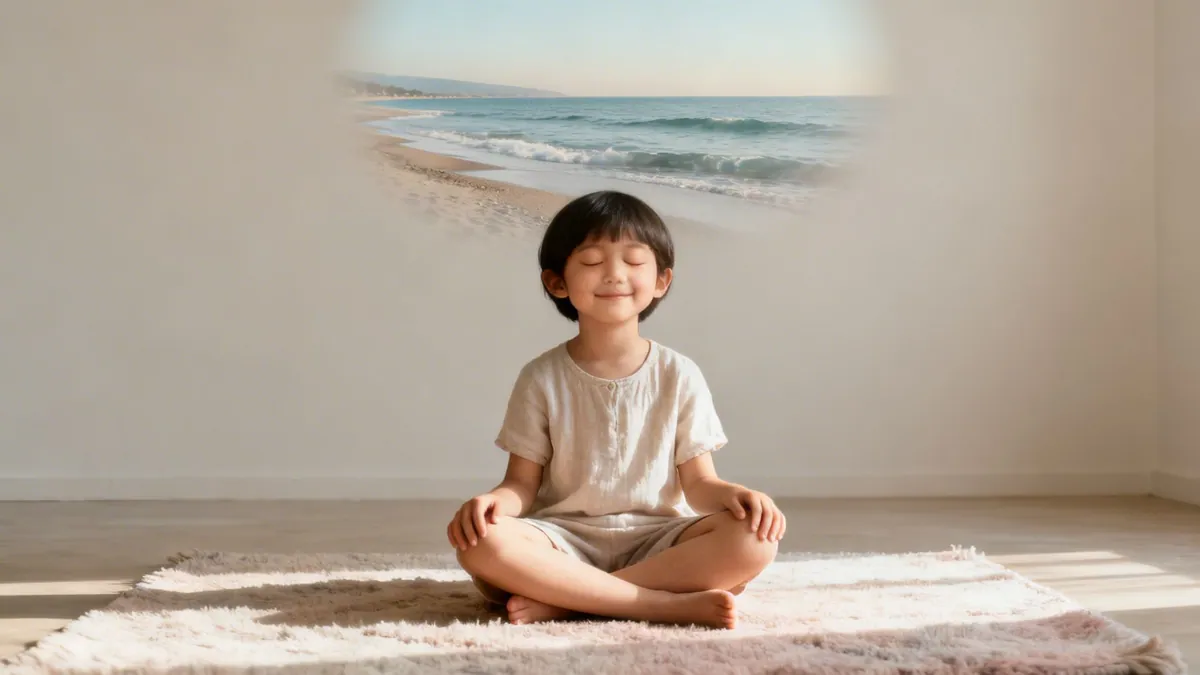
This method is effective because it creates a mental escape route from stress. It empowers children by teaching them that they can change their emotional state simply by using their minds. Repeated practice helps build positive neural pathways, reinforcing the brain’s ability to access calmness and making it a more automatic response to stress over time.
How to Implement It
- Goal: To help children build a mental “safe space” they can access anytime to reduce anxiety and promote relaxation.
- Best For: Bedtime routines, transitions, pre-test calming, and building emotional resilience.
- Time: 3-10 minutes.
Step-by-Step Guide:
- Find a Quiet Space: Have the child sit or lie down comfortably in a place with minimal distractions. Ask them to close their eyes if they feel comfortable doing so.
- Use a Calming Script: Begin by guiding them through a few deep breaths. Then, using a slow, soothing voice, describe a peaceful scene. Use rich, sensory details: “Imagine you are walking on a warm, sandy beach. Feel the soft sand between your toes. Hear the gentle waves washing ashore. See the bright blue sky above you.”
- Encourage Personalization: Ask them to add their own details to their special place. What else do they see, hear, or feel? This makes the experience more vivid and personal.
- Gently Return: After a few minutes, slowly guide them back to the present moment. Ask them to wiggle their fingers and toes before slowly opening their eyes.
Practical Tips and Variations
- For Younger Children (K-2): Keep visualizations short and simple. Focus on concrete, comforting ideas. For example, “Imagine you are a sleepy kitten curled up in a soft, warm sunbeam. Feel how warm and cozy you are. Now, imagine someone you love is gently stroking your back.”
- For Older Children (3-8): Introduce more complex scenarios, like visualizing success before a sports game or presentation. Encourage them to create and write down their own “safe place” script that you can read to them.
- At Home: Use guided visualization stories at bedtime to ease nighttime anxiety. Apps like Calm or Headspace offer a wide variety of kid-friendly guided imagery sessions.
- In the Classroom: A teacher can lead a brief, whole-class visualization before a test to calm nerves. A school counselor might work with an anxious student to create a personalized “safe place” recording they can listen to with headphones when feeling overwhelmed.
Key Insight: Visualization leverages a child’s imagination as a therapeutic tool. It teaches them that they possess an internal resource for creating calm and safety, no matter what is happening externally.
4. Grounding Techniques (5-4-3-2-1 Sensory Method)
Grounding techniques are powerful anxiety activities for kids designed to pull their focus away from distressing internal thoughts and back to the physical world. The 5-4-3-2-1 Sensory Method is a structured, evidence-based exercise that interrupts an anxiety spiral by systematically engaging all five senses. It forces the brain to redirect its attention from abstract worries to the concrete, tangible environment.
This method is highly effective because it provides a simple, memorable script for children to follow during moments of panic or overwhelming anxiety. By concentrating on external sensory information, a child’s nervous system receives the message that they are safe in the present moment, which helps to de-escalate the “fight or flight” response and restore a sense of calm and control.
How to Implement It
- Goal: To equip children with a rapid mental tool that anchors them in the present moment when they feel overwhelmed by anxious thoughts or panic.
- Best For: Acute anxiety, panic attacks, dissociative moments, and helping dysregulated students regain focus.
- Time: 2-5 minutes.
Step-by-Step Guide:
- Introduce the Concept: Explain that when our minds are full of worries, we can use our five senses as anchors to bring us back to the “here and now.” Frame it as a detective game where they have to find clues in their environment.
- Guide Them Through the Steps: Calmly and slowly, prompt them to identify:
- 5 things you can SEE: Ask them to look around and name five objects. A practical example would be: “Okay, let’s play. I see the green plant, the blue pen on the desk, the white clock, your red shoes, and the yellow sticky note.”
- 4 things you can FEEL: Guide them to notice physical sensations, such as the chair beneath them, their feet on the floor, or the texture of their clothing.
- 3 things you can HEAR: Prompt them to listen for sounds nearby, like a ticking clock, distant traffic, or the hum of a computer.
- 2 things you can SMELL: Encourage them to identify any scents in the air, like a pencil, a book, or hand sanitizer.
- 1 thing you can TASTE: Ask them to notice the taste inside their mouth or have them take a sip of water.
- Practice During Calm Times: Like breathing exercises, grounding is most effective when learned and practiced when a child is not in distress. Use posters or cue cards to help them remember the sequence.
Practical Tips and Variations
- For Younger Children (K-2): Simplify the prompts and make it a game. “Can you find five blue things in the room?” or “Let’s touch four different textures and describe them.”
- For Older Children (3-8): Encourage them to silently practice the 5-4-3-2-1 method on their own. They can also write down what they notice in a journal to deepen the grounding effect.
- At Home: A parent can gently guide a child through the steps during a moment of panic. Having a “grounding object,” like a smooth stone or a piece of textured fabric, can enhance the sense of touch.
- In the Classroom: Teachers can establish a non-verbal signal for a student to request a grounding break. The entire class can also practice this as a “sensory reset” after a high-energy activity to help everyone settle.
Key Insight: Grounding interrupts the feedback loop of anxiety. By forcing the brain to process real-time sensory data, you stop anxious thoughts from spiraling and re-establish a connection to the safety of the present moment.
5. Creative Expression Activities (Art, Music, Movement)
Creative expression activities like art, music, and movement are powerful anxiety activities for kids because they offer a non-verbal outlet for complex emotions. When children feel anxious, they often struggle to find the right words to describe their internal state. These activities bypass the brain’s verbal processing centers, allowing kids to externalize their feelings directly and symbolically through color, sound, or physical motion.
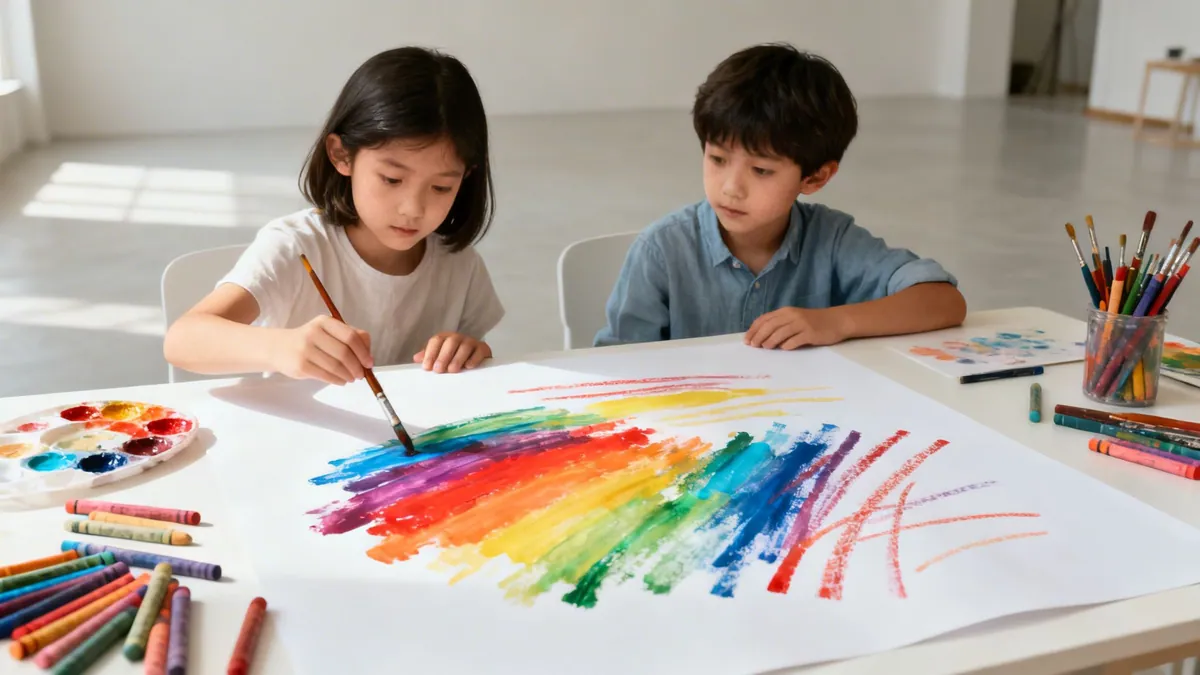
This process is effective because it shifts the focus from the abstract nature of a feeling to a tangible, creative act. It provides a safe container for difficult emotions and helps children gain a sense of mastery over them. Engaging in art, dance, or music can also be inherently calming, promoting a state of flow that reduces anxious thoughts and fosters self-expression.
How to Implement It
- Goal: To provide a non-verbal, constructive outlet for children to process and express anxious feelings safely.
- Best For: Children who have difficulty verbalizing emotions, proactive anxiety prevention, and emotional processing after a stressful event.
- Time: 10-30 minutes.
Step-by-Step Guide:
- Introduce the Concept: Frame the activity as a way to show feelings, not create a perfect masterpiece. You might say, “Let’s draw what your worry looks like,” or “Let’s move our bodies to a song that feels happy and strong.”
- Offer Choices: Provide a variety of open-ended materials like clay, paint, markers, or instruments. Let the child choose the medium that feels right for them, which honors their preference and gives them a sense of control.
- Encourage Expression: Prompt them with feeling-based questions: “What color is your anger?” or “If your sadness was a sound, what would it be?” Avoid judgment about the final product; the value is in the process. A practical example is giving a child a lump of clay and saying, “Show me what the knot in your stomach feels like. You don’t have to make it look like anything, just show me the feeling.”
- Reflect and Connect (Optional): After the creative process, invite the child to talk about their creation. Ask, “Can you tell me about your drawing?” This step helps connect the non-verbal expression with verbal language, building emotional vocabulary.
Practical Tips and Variations
- For Younger Children (K-2): Use large-scale movement like “animal walks” to express different feelings (e.g., a stomping bear for anger). Finger painting is another great way to engage their senses and express emotions physically.
- For Older Children (3-8): Encourage journaling with drawings or creating a “mood playlist.” Drama-based games like charades with emotions can help them explore expression in a fun, low-pressure way. For children who enjoy detailed activities, the wonderfully calming and creative world of cross stitch offers a focused way to manage feelings.
- At Home: Create a “feelings art box” with various supplies that is always accessible. Play music and have spontaneous “dance parties” to release pent-up energy and stress.
- In the Classroom: Integrate “feelings art projects” into SEL time. Organizations like Soul Shoppe often use experiential and creative workshops to help students process emotions and build empathy in a group setting.
Key Insight: The power of creative expression lies in its ability to make the invisible visible. By turning an internal feeling into an external creation, children can understand, manage, and communicate their anxiety in a way that words alone often cannot.
6. Physical and Mindful Movement (yoga, stretching, body scan, active play)
Physical and mindful movement provides a powerful outlet for anxious energy, connecting the mind and body to promote calm. When children feel anxious, their bodies often store that tension, leading to restlessness and discomfort. Activities like yoga, stretching, and even active play help release this physical stress and burn off excess cortisol, the body’s stress hormone.
This integrated approach is effective because it teaches interoceptive awareness, or the ability to notice internal body sensations. By combining movement with mindfulness, such as in a body scan, children learn to identify where they hold tension (like tight shoulders or a clenched jaw) and consciously release it. This builds a child’s capacity to recognize the early physical signs of anxiety and proactively manage them before they escalate.
How to Implement It
- Goal: To channel anxious energy into a productive physical outlet and build a child’s awareness of their own body’s stress signals.
- Best For: Releasing pent-up energy, daily stress management, and helping kids who struggle to sit still during traditional calming exercises.
- Time: 5-15 minutes.
Step-by-Step Guide:
- Introduce the Mind-Body Connection: Explain to children that our feelings live in our bodies. Say something like, “Sometimes when you feel worried, your tummy might feel tight or your shoulders might feel heavy. Moving our bodies can help those feelings move through and out.”
- Guide a Simple Movement: Choose an activity appropriate for the space and energy level. For energy release, a teacher could say, “Okay class, let’s have a 60-second ‘shake it out’ break. Stand up and shake your arms, shake your legs, and shake all those wiggles out!” For calming, try guided yoga poses.
- Incorporate a Body Scan: After the movement, ask children to stand or sit quietly and notice how their body feels. Prompt them with questions: “Notice your feet on the floor. Are they warm or cool? Can you feel your heartbeat? Is it fast or slow?”